Welcome the continuing series on using Jekyll. In this tutorial you will learn how to add the ability for users to comment on your blog post.
Overview
You may be thinking that commenting isn’t really that important but it is a key feature for you to be able to interact with your readers. Users want to have conversations about your blog post with you and to feel connected to you. It is also a good way for you to learn from them as well.
Unfortunately, out of the box Jekyll does not have this ability. Luckily, it is really easy to add this ability, thanks to a wonderful tool called Disqus. Disqus is free but still full featured.
We will go through the process of getting a Disqus account, configuring the account, configuring your blog and testing it all out.
Section 1: Configuring Disqus
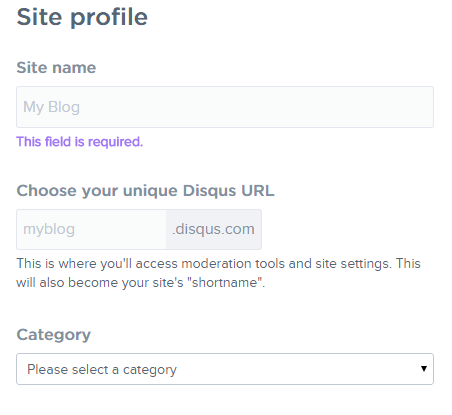
Open another browser window and navigate to https://disqus.com/admin/signup/?utm_source=New-Site
Fill out the information request and click the Finish button. Note: That you can not change the short name value once it is created. You can have multiple sites under the same account though with different short name values.
You will be greeted with a “Choose Your Platform” screen like the follow. Don’t worry about any of these options as we are not going to use them.
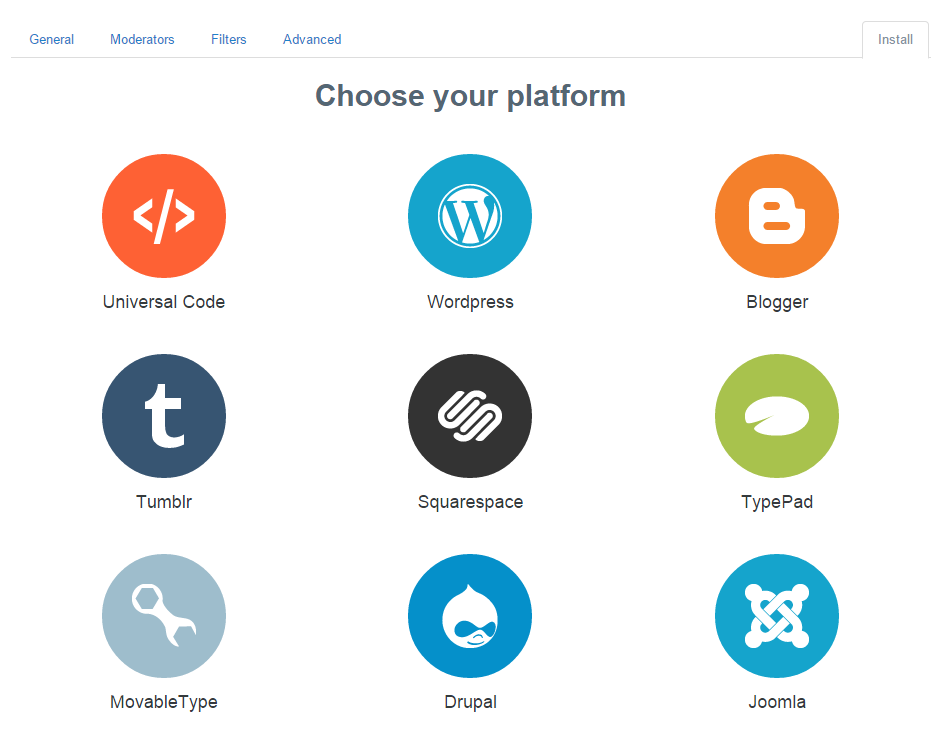
Click on the General link on the left side of the links above the “Choose Your Platform” title.
 )
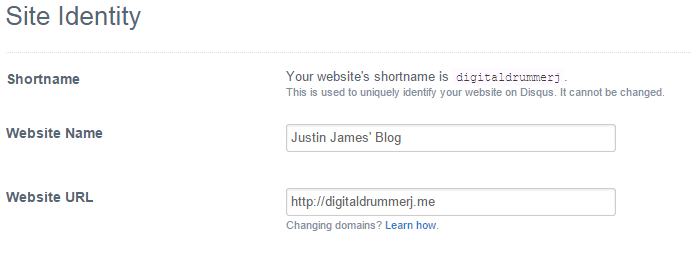
)Scroll down to the Site Identity and make sure that the values are correct. The WebSite Name will appear on your blog when the comments show, so make sure it is what you want it to say. Take note of your shortname as you will need it in the next section when we config your blog to show Disqus.
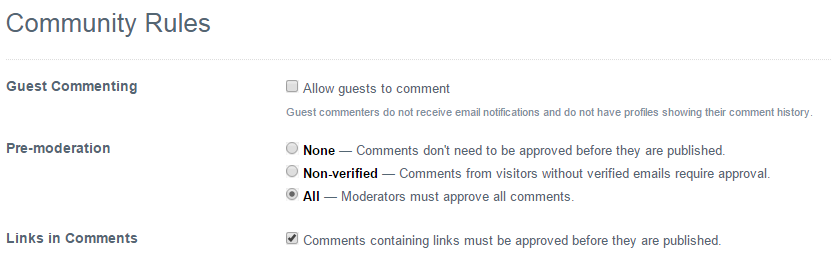
Scroll down to the next section which should be Community Rules and match the settings to the image below. To prevent comment spam I always set comments to have to be approved before showing on the site. The volume on the site will be low enough for now that you will be able to easily manage approving the comments.
Scroll down to the next section which should be Social Platform Intergration and add your twitter account if you have one. This will ensure that when people share comments on your blog that it includes you in the post.

Click the Save Button
Section 2: Configuring Your Blog
Open a web browser and navigate to your [username].github.io repository.
Click on the _config.yml file to navigate to it
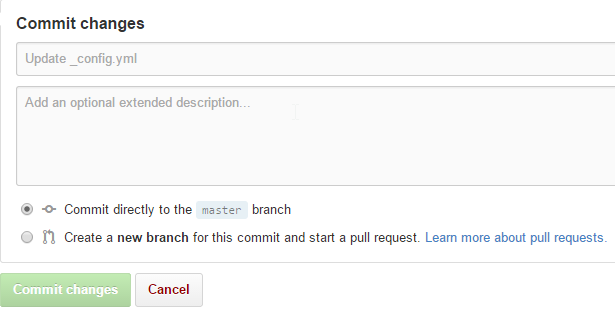
Click on the
 icon to edit the file
Look for the text disqus: and put in your disqus shortname name like below.
disqus: digitaldrummerj
Scroll to the bottom of the screen and click on the commit button. You should put in a comment as well so that you know what changed with the file.
Section 3: Testing it out
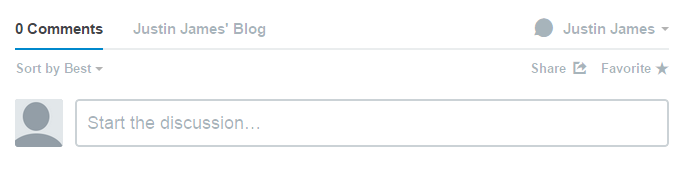
Open up a web browser and navigate to your blog and click on the title for the blog post that we published in our last lesson.
Scroll to the bottom of the post and you should see a section to add a comment like this:
Conclusion
Having comments is an essential part of any blog to open up the communication with your readers. As you can see Disqus is very easy to add to your blog.
In the next lesson, where you will learn how to create additional pages that are not blog post such as portfolio or about pages.