Welcome the continuing series on using Jekyll. In this tutorial we will go through how to add an additional page such as the speaking page on this blog.
Overview
As your blog grows you are going to want to add additional information besides just blog post. If you start speaking at events or want to show off your portfolio or blog post by category/date, you are going to want these as separate pages. These pages most likely will have there own look and feel as well.
Section 1: Creating the file for the page
If you have been following along with the other part in this series, the step should be familiar to you.
Open a web browser and navigate to your [username].github.io reporepository.
Click on the + button to add a new file

Name the file portfolio.md

Go to the next section to decide on the layout for the page
Section 2: Choosing a layout
To tell the jekyll engine what the layout of the page should be, you need to add the front matter layout tag.
From Part 2 Creating your first blog post, you will remember that the front matter is the metadata about blog post but it is used in jekyll for any page as well. All of the front matter tags are the same as a blog post.
To change the layout from being a blog post to a page, you will change the layout front matter tag to page instead of post.
By default jekyll adds files to the sitemap that search engines use to find pages on your site. Setting it to false will stop this page from being added. We will remove the sitemap tag once we are ready to share the page.
In order for the page to available at [username].github.io/portfolio, you need to set the front matter permalink to /portfolio/ .
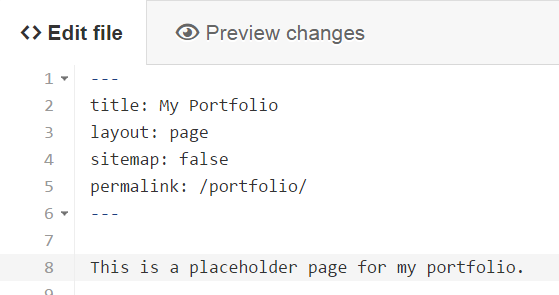
front matter tags
---
title: My Portfolio
permalink: /portfolio/
layout: page
sitemap: false
---
Section 3: Adding content
The content is written in markdown just like blog post are. In Part 2 Creating your first blog post, we covered the common markdown tags.
For now just add some simple markdown like below:
This is a placeholder page for my portfolio.
Your page should now look like this in the editor
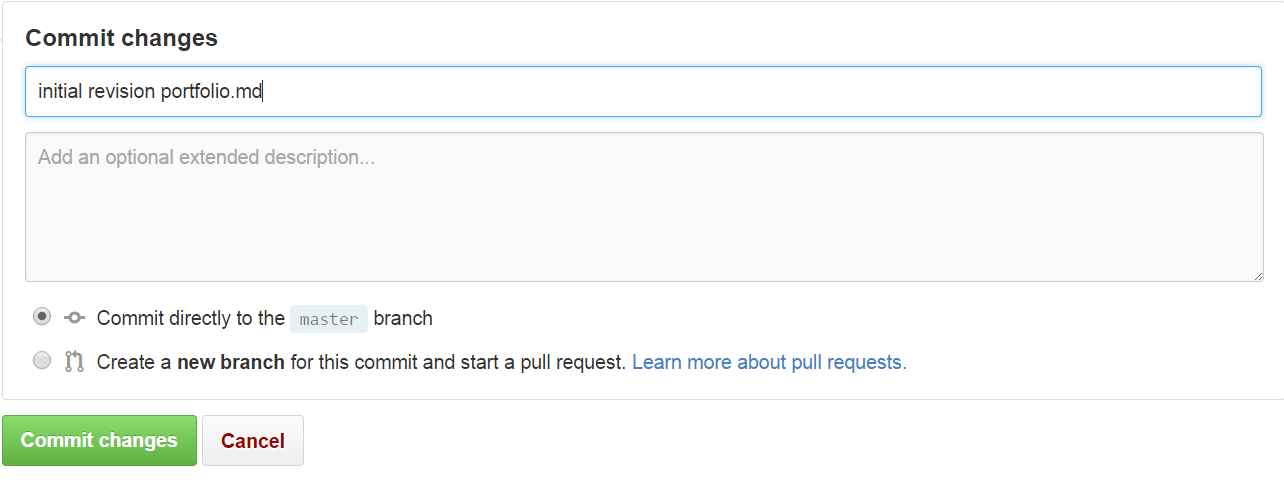
After you have added the above text, scroll to the bottom of the page, add your commit note, and click the commit button.
Section4: Previewing page
To view the page navigate to http://[username].github.io/portfolio
Your page should look like the following but with your avatar, site name and description in the header of the page.
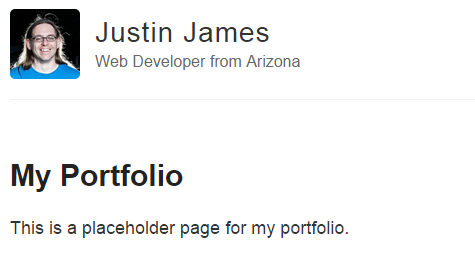
Right now the page is published but not linked to from anywhere.
Section 5: Adding page to menu
Once you are ready to share the page with your readers, you will want to add it to your main menu and have it indexed by search engines.
To tell search engines to index the page, we need to remove the front matter tag, sitemap:false.
To add it to the menu:
Navigate to the _layout directory in the repository by clicking on the repository title to get back to the main directory of the repository

Click on _layouts directory
Click on the default.html page.
Click on the
 icon to edit the file.
Find the main menu. You can search for home or about to find the section

Add the following line in the menu at the position you want the portfolio page link to be displayed.
<a href="/portfolio">Portfolio</a>
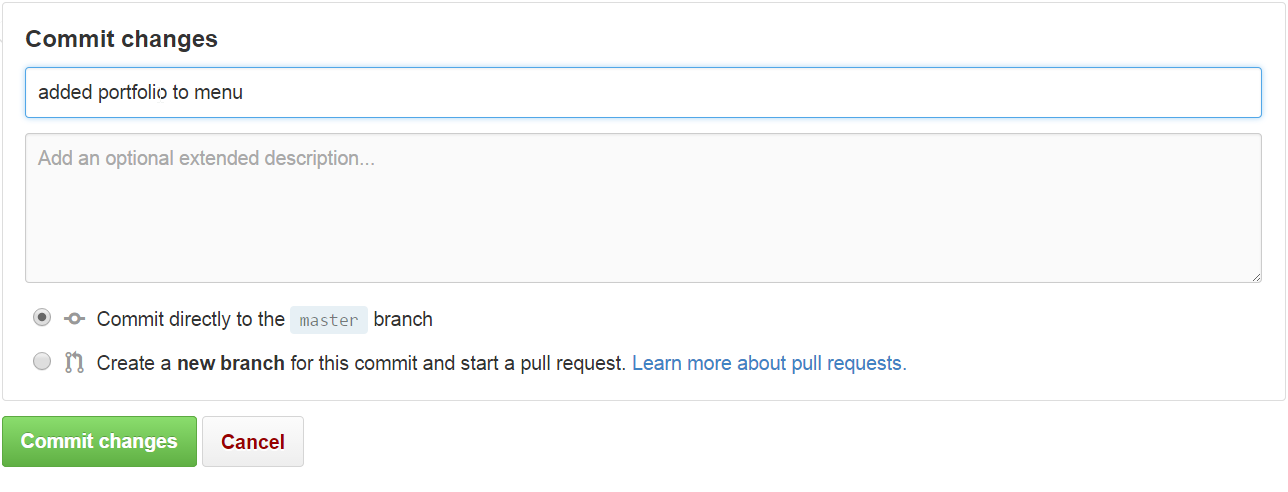
We need to commit the file to the repository by scrolling to the bottom of the page, adding the commit comment, and clicking on the commit button.
Now navigate to your blog and the page link should show in the main menu. Click on the portfolio menu item and make sure it takes you to the portfolio page.

Conclusion
With just a few steps, you were able to add a new page into your blog’s web site. You can either continue to build out the portfolio page with the markdown needed to show off your portfolio or you can remove it from the menu until you are ready to do build it out.
In the next lesson we will build on this lesson by adding in a page to show the blog post by category.