Welcome the continuing series on using Jekyll. In this tutorial we will go through creating a page to show blog post by date.
Overview
A typical blog has a way for your readers to view posts by either category or date, so that they can look at your archives without having to go through the blog post one by one and page by page. In the last lesson, we added the post by category page. In this lesson we will add the post by date page.
Section 1: Creating the Post by Date Page
If you have been following along with the other lessons in the series, this should be familiar to you.
Open a web browser and navigate to your [username].github.io repository.
Click on the + button to add a new file

Name the file archivebydate.md

Section 2: Adding the Metadata
Add the following front matter to the top of the archivebycategory.md file.
---
layout: page
title: Post by Date
permalink: /monthview/
sitemap: false
---
Section 3: Html to Display Post
After the front matter, add the following code to display the post by Year and Month.
<div id="index">
    {% for post in site.posts %}
        {% unless post.next %}
            <h2>{{ post.date | published: '%Y' }}</h2>
        {% else %}
            {% capture year %}{{ post.date | published: '%Y' }}{% endcapture %}
            {% capture nyear %}{{ post.next.date | published: '%Y' }}{% endcapture %}
            {% if year != nyear %}
                {% if forloop.index != 1 %}</ul>{% enffdif %}
                <h2>{{ post.date | published: '%Y' }}</h2>
            {% endif %}
        {% endunless %}

    {% capture month %}{{ post.date | published: '%m%Y' }}{% endcapture %}
    {% capture nmonth %}{{ post.next.date | published: '%m%Y' }}{% endcapture %}
    {% if month != nmonth %}
        {% if forloop.index != 1 %}</ul>{% endif %}
        <h2>{{ post.date | published: '%B %Y' }}</h2><ul>
    {% endif %}


    {% if post.link %}
        <h3 class="link-post">
            <a href="{{ site.baseurl }}{{ post.url }}" title="{{ post.title }}">{{ post.title }}</a>
            <a href="{{ post.link }}" target="_blank" title="{{ post.title }}"><i class="fa fa-link"></i></a></h3>
    {% else %}
        <h3><a href="{{ site.baseurl }}{{ post.url }}" title="{{ post.title }}">{{ post.title }}<p class="date">{{ post.date |  published: "%B %e, %Y" }}</p></a></h3>
        <p>{{ post.excerpt | strip_html | truncate: 160 }}</p>
    {% endif %}
    {% endfor %}
</div>
Section 4: Viewing the Post by Date Page
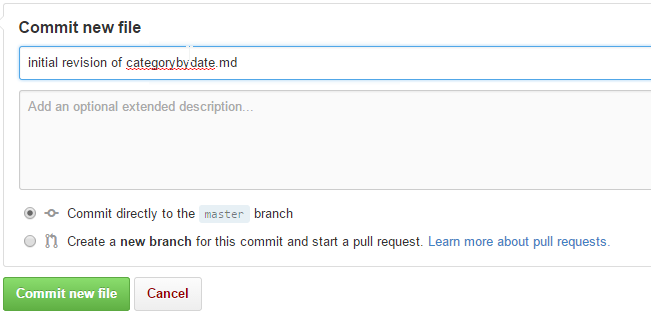
After you have added the above text, scroll to the bottom of the page, add your commit note, and click the commit button.
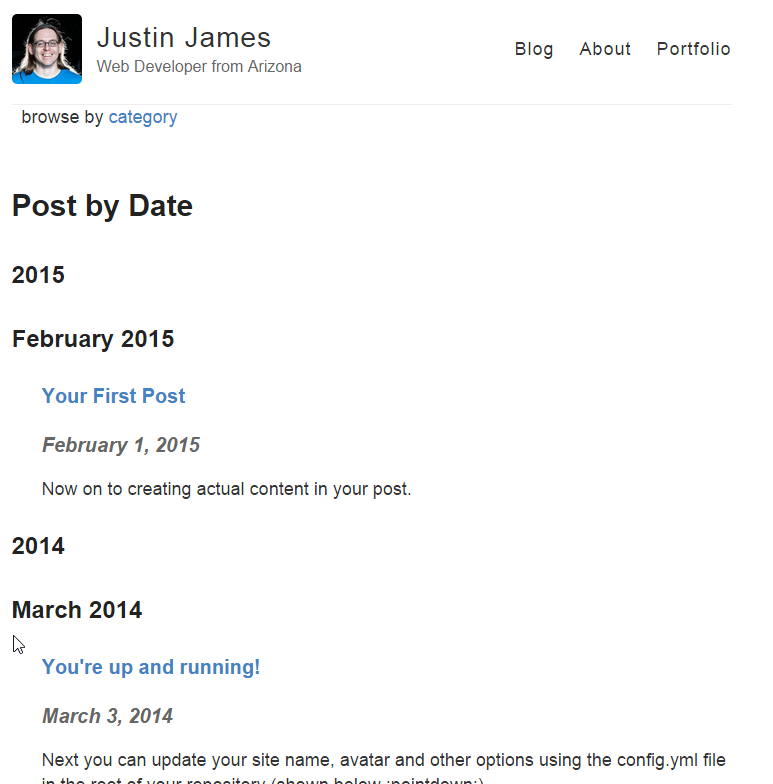
To view the category page, navigate to http://[username].github.io/monthview
Your page should look like the following but with your avatar, site name and description in the header of the page.
Right now the page is published but not linked to from anywhere. In the next section we will add it to the header section of the page.
Section 5: Adding browse by date into Header
We are going to add the “show by date” link into the header section next to the link to view by category that we added in the [previous lesson]({{ “blogging-on-github-part-5-adding-a-category-page” | prepend: site.baseurl | prepend: site.url}}).
Go into the _layouts directory by clicking on _layouts
Click on the default.html file to open it.
Click on the
 icon to edit the file.
In the <div id=“archives”> tag that we added previously, add the following html snippet after the category view link.
 or <a title="The complete archive of
     {{ site.name }}'s Blog by month"
     href="{{ site.url}}{{ site.baseurl }}//monthview">date</a>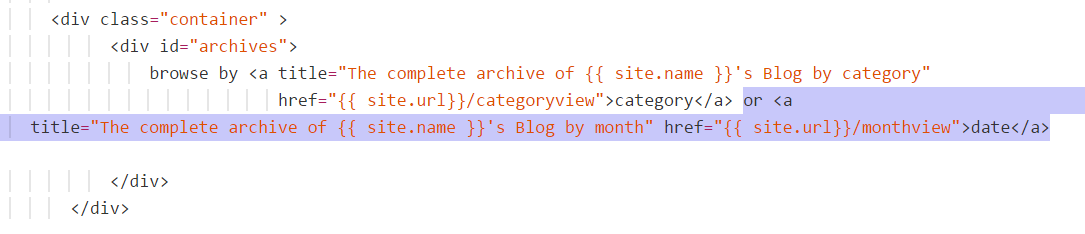
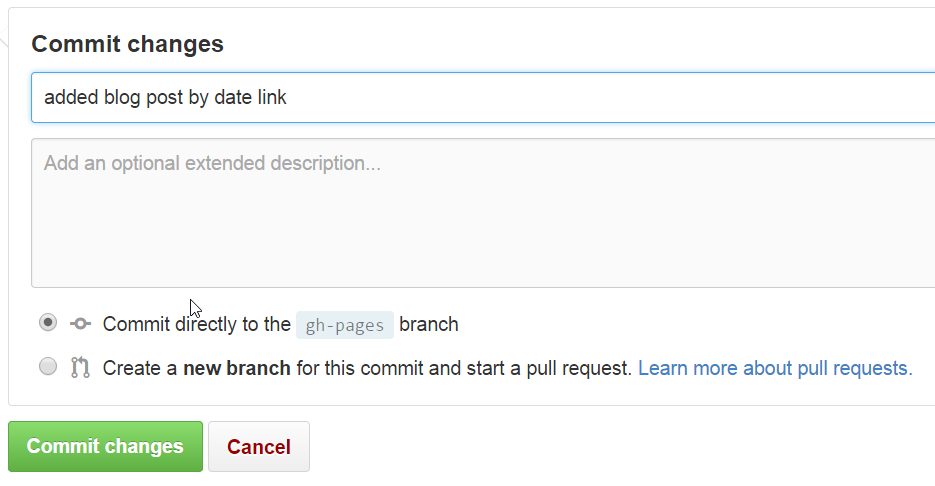
Scroll down to the bottom, add the commit comment, and click on the commit change button.
Now go view your blog’s home page at http://[username].github.io/. You should now see the “browse by category or date” link in the header.

Conclusion
With just a few simple steps, you were able to add the post by month page and put it in the header. In the next lesson we will discuss how the blog theme works and how to modify it.