In order to work with the Ionic framework there is a bit of software installs and configuration that needs to happen in order to deploy to devices. However, many of the guides out there leave out a number of steps that tripped me up when I first started using Ionic.
This guide will go through all of the steps needed for deploying to an Android and iOS device using a Mac.
General Install Steps
For the first part of this tutorial, we will be installing everything to do Ionic development and test your application in Google Chrome. This will be how you will do about 80% of your development since deploying to a device or emulator can be time consuming.
Node
If you already have Node installed, you can skip this section.
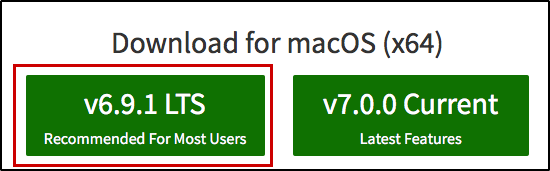
Download the LTS version of node from https://www.nodejs.org
- If you are using Chrome to download, it may tell you that a file with a pkg extension could be harmful to your computer and ask if you want to keep the file. Make sure to click on the keep button.
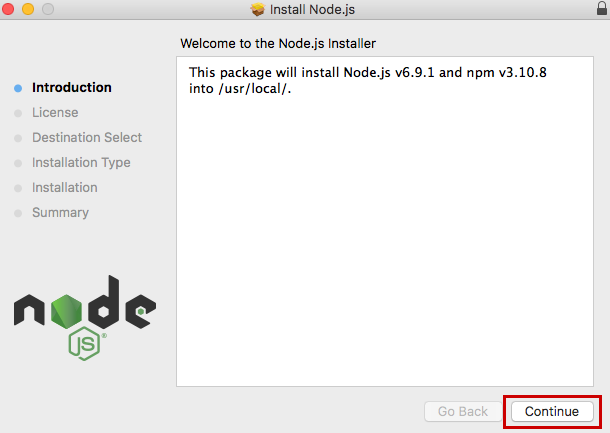
After the download completes, double-click on the pkg file to run it
Click Continue
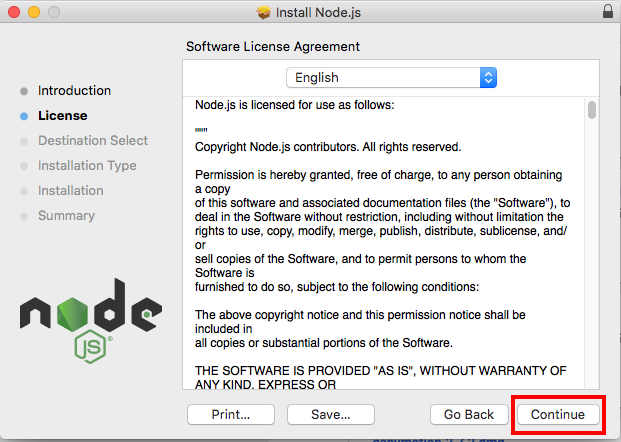
Click Continue
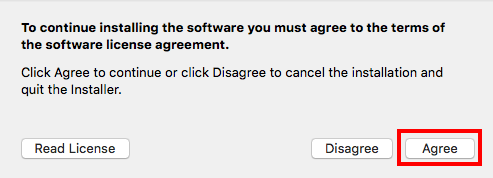
Click Agree
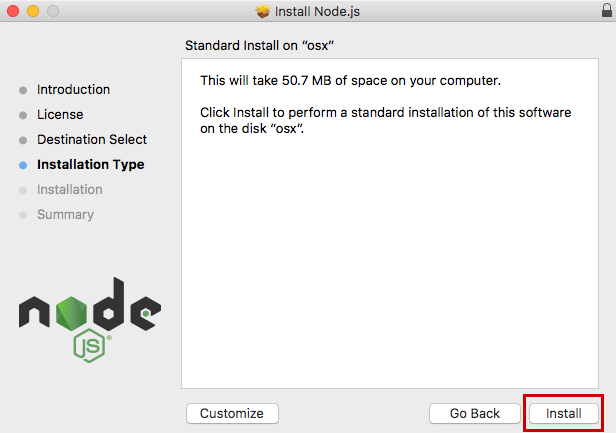
Click Install
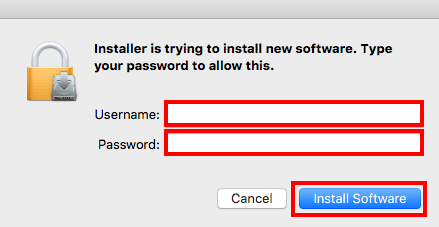
Fill in your login user name and password and click “Install Software”
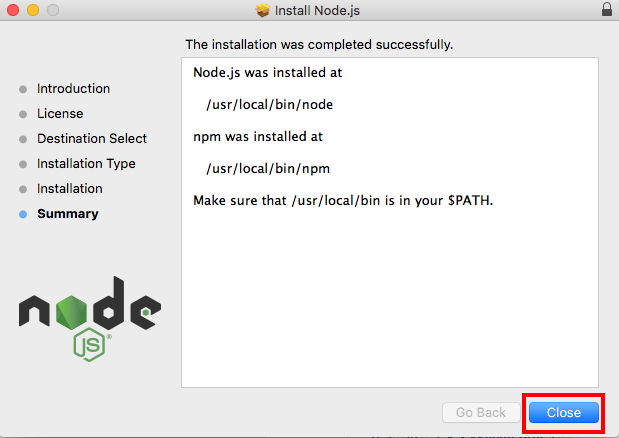
It will take a few minutes for NodeJs to install. Once it does, click the Close button
Open a terminal and run the following to verify that node and npm was installed and is available from the command line
 node -v
 npm -v
As of the writing of this post, you should have gotten node v6.9.1 and npm 3.10.8
Npm Packages
Next we need to install 3 npm packages for cordova, gulp and ionic. At the time of this publication, ionic is on release candidate 0.
Open a terminal and run the following commands to install the Global NPM packages that we need:
sudo npm install -g cordova ionicIn the terminal run the following to verify that Cordova install correctly. As of the writing of this post, you should get Cordova version 6.4.0
cordova -vWhen prompted with “May Cordova anonymously report usage statistics to improve the tool over time?”, answer Yes or No depending on your preference.
In the terminal run the following to verify that Ionic install correctly. As of the writing of this post, you should get Ionic version 2.1.4
ionic -v
Google Chrome
If you already have Google Chrome installed, you can skip this section.
Download from https://www.google.com/chrome/browser/desktop/
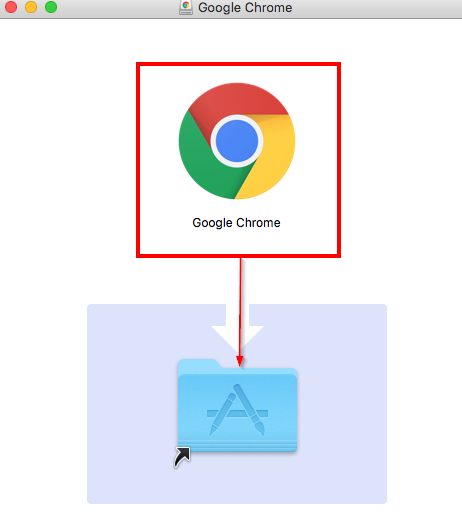
Double click the dmg file to run it
Drag the Google Chrome icon to the Application folder
Visual Studio Code
If you already have Visual Studio Code installed, you can skip to step 5.
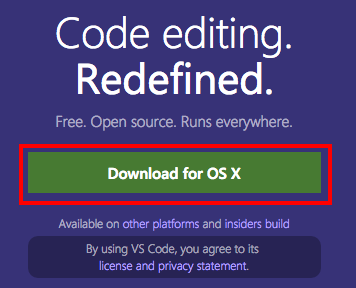
Download from https://code.visualstudio.com/
Double-click on the downloaded archive to expand the contents.
Drag Visual Studio Code.app to the Applications folder, making it available in the Launchpad.
Add VS Code to your Dock by right-clicking on the icon and choosing Options, Keep in Dock.
Open Visual Studio Code
Open the Command Palette (⇧⌘P) and type shell command to find the Shell Command: Install ‘code’ command in PATH command and double-click on it.

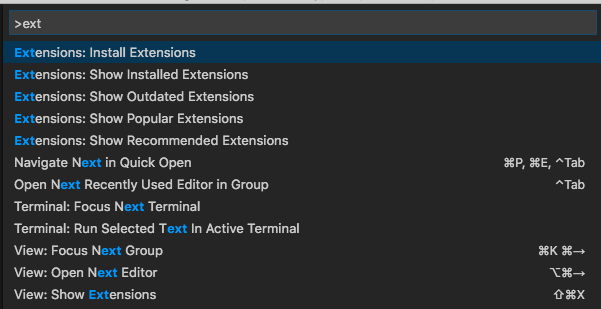
Open the Command Palette (⇧⌘P) and type ext command to find the Extensions: Install Extensions and double-click on it.
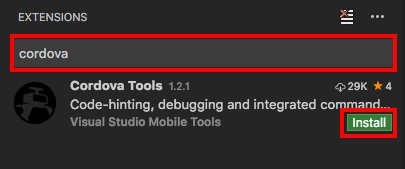
Enter Cordova into the search box, find the Cordova Tools from Microsoft, and click the Install button
When the install is completed, the Enable button will be available and will restart Visual Studio Code to make the extension after.
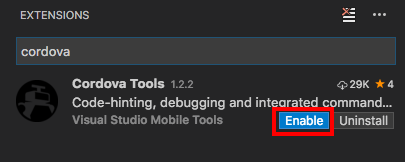
Click Ok on the confirmation prompt

Visual Studio Code will restart and the extensions will be enabled
Validating General Install Steps
Open terminal
Navigate the directory where you store you development projects (I use ~/projects)
Run the following command to generate an ionic v2 project based on the tabs template
ionic start todo tabs --v2cd into todo (directory was created by the ionic start command)
We are going to run is to make sure that we can run the todo app in the web browser by running:
ionic serve --labThis will start up a node based web server and the –lab will tell it to launch a page that shows what the app would look like on an iOS, Android and Windows phone. Granted the node based serve is about 80% accurate but good enough to do a majority of our testing. Ultimately you should test on a device before releasing into the app stores.
At this point, we can create ionic projects and test them in a web browser. However, you have some more steps to complete in order to deploy to Android and iOS devices.
Android Setup Steps
In this section, we will be installing everything that is needed in order to deploy your application to an Android device or emulator. We will be installing JDK8, Android Studio, Android SDK, Gradle, and Genymotion.
JDK 8
Open a web brower and navigate to http://www.oracle.com/technetwork/java/javase/downloads/jdk8-downloads-2133151.html
Download the Java SE Development Kit 8u101 for Mac OSx
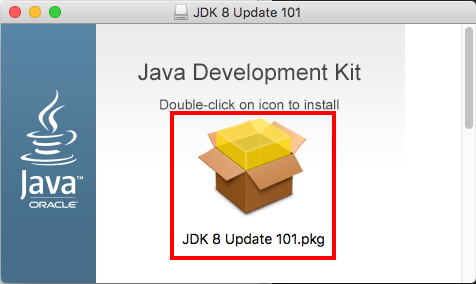
Open the dmg file after it downloads
Double Click on the icon
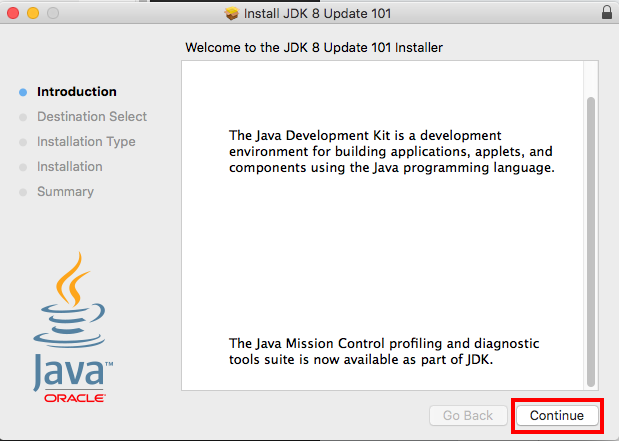
Click continue
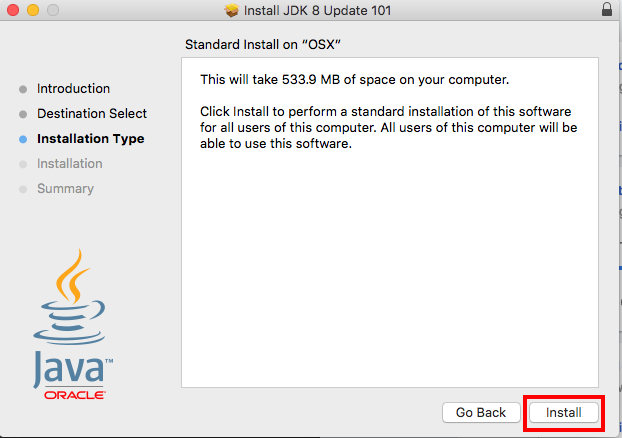
Click Install
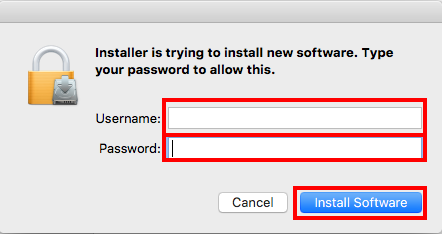
Fill in your login user name and password and click “Install Software”
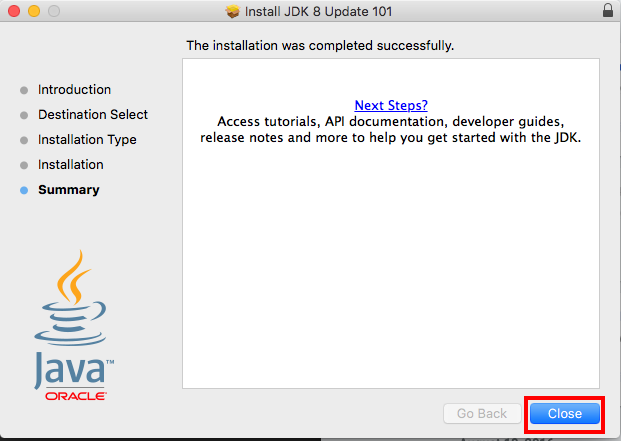
Once the install completes, click the Close button
Open a terminal and run the following to verify that you can run java from the command line. As of this writing it should return javac 1.8.0_101
javac -versionOpen up the vi editor and edit your bash profile. We need to add in the JAVA_HOME environment variable
vi ~/.bash_profileTo edit in vi hit
ito enter edit mode and add the text below to the .bash_profileexport JAVA_HOME=/Library/Java/JavaVirtualMachines/jdk1.8.0_101.jdk/Contents/HomePress the
esckey to exit edit modePress
:(colon key) to enter command mode.type
wqand press enter to save and exit viRun the following to make the change active in your existing session
source ~/.bash_profileTest that the $JAVA_HOME variable was set. If should return /Library/Java/JavaVirtualMachines/jdk1.8.0_101.jdk/Contents/Home
echo $JAVA_HOME
Android SDK
If you are using Safari to download files you need to change the preference to “open safe files after downloading” else Safari will automatically unzip the downloaded file into the Download folder and delete the zip file. You can change this option by going into the preferences and unchecking the “Open safe files after downloading” box

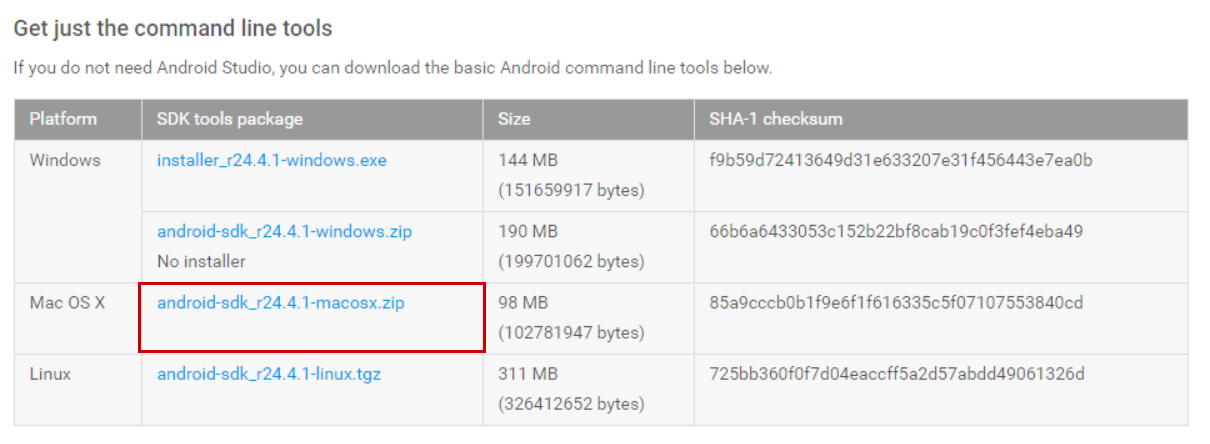
Download from https://developer.android.com/studio/index.html#downloads
- Version 24.4.1 as of this writing
When prompt for the license agreement, check the “I have read and agree withthe above terms and conditions” box and then click on the “Download Android-SDK_R24.4.1-MACOSX.zip” button
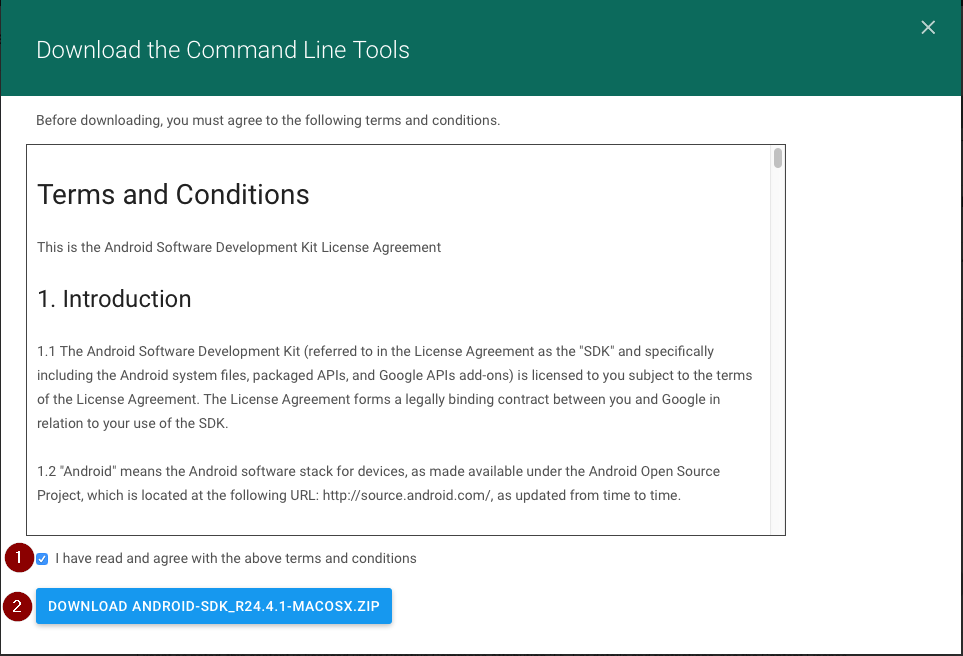
You can close the next dialog as it just tells you there is nothing else to do. Close it by clicking on the X in the upper right of the dialog

Open a terminal
Run the following to unzip the android sdk to the Development directory that is under your user home directory
mkdir ~/Library/Android && unzip ~/Downloads/android-sdk_r24.4.1-macosx.zip -d ~/Library/Android/sdk && mv ~/Library/Android/sdk/android-sdk-macosx/* ~/Library/Android/sdk && rmdir ~/Library/Android/sdk/android-sdk-macosxOpen up the vi editor and edit your bash profile. We need to add in the JAVA_HOME environment variable
vi ~/.bash_profileTo edit in vi hit
ito enter edit mode and add the text below to the .bash_profileexport PATH=${PATH}:~/Library/Android/sdk/tools:~/Library/Android/sdk/platform-toolsPress the
esckey to exit edit modePress
:(colon key) to enter command mode.type
wqand press enter to save and exit viRun the following to make the change active in your existing session
source ~/.bash_profileTest that the $PATH variable was updated. The command below will return the $PATH variable and the end of the output should include the android-sdk-macosx/tools and android-sdk-macosx/platforms-tools directories.
echo $PATHNow that the Android SDK manager is installed we need to install the Android SDKs that we will be using
echo 'y' | android update sdk --filter tools,platform-tools,build-tools-24.0.3,android-19,android-20,android-21,android-22,android-23,android-24,source-24 --all --no-uiKeep an eye on the output from this command. I had it error downloading one of the packages a time or two and had to run the command a 2nd time.
Android Studio
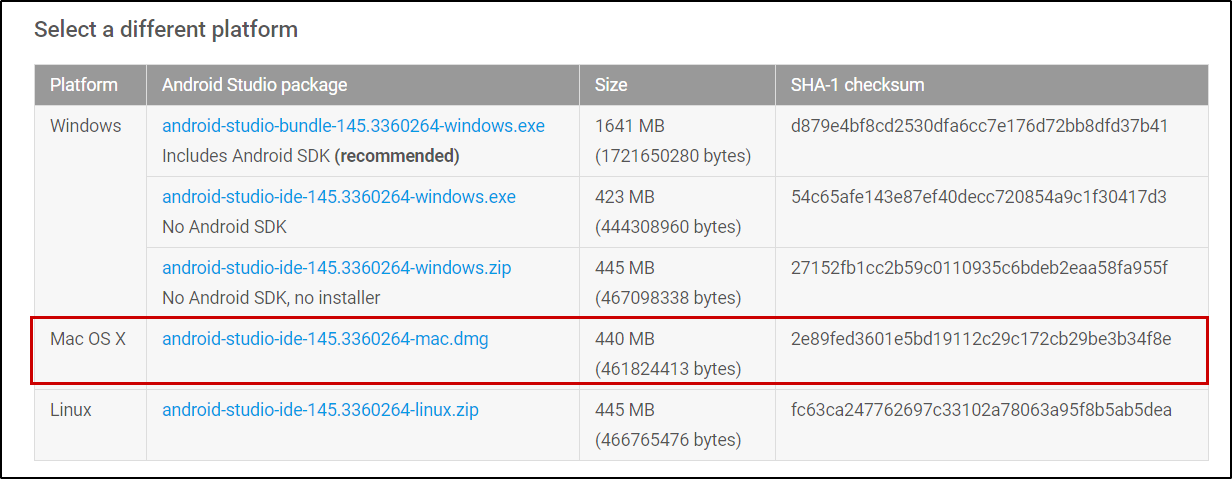
Download from https://developer.android.com/studio/index.html#downloads
- Version 2.2.2.0 as of this writing.
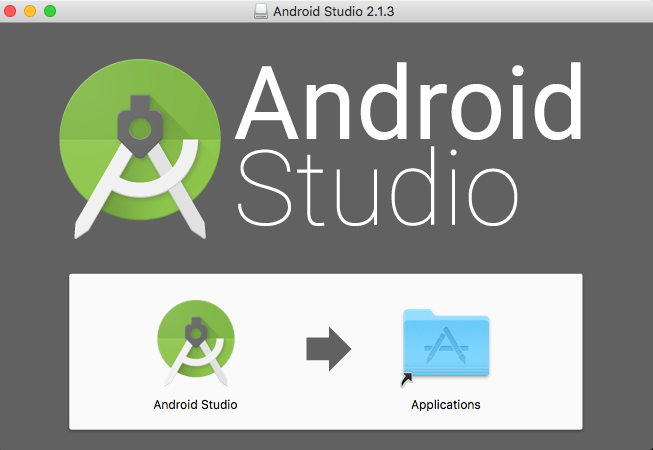
Double-click on the dmg file after it downloads
Drag the Android Studio Icon to the Applications folder
In the Applications folder, launch the Android Studio Application
In the Complete installation dialog, select “I do not have a previous version of Studio or I do not want to import my settings”
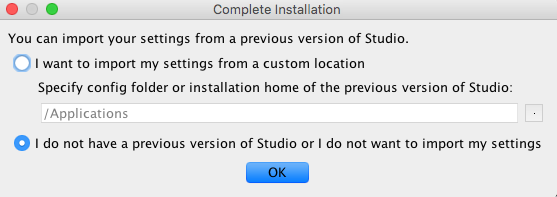
Click Next
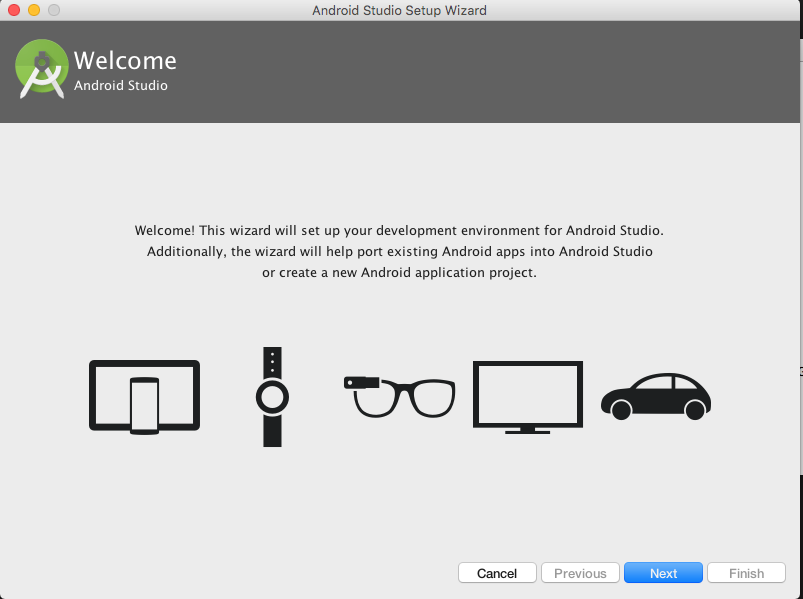
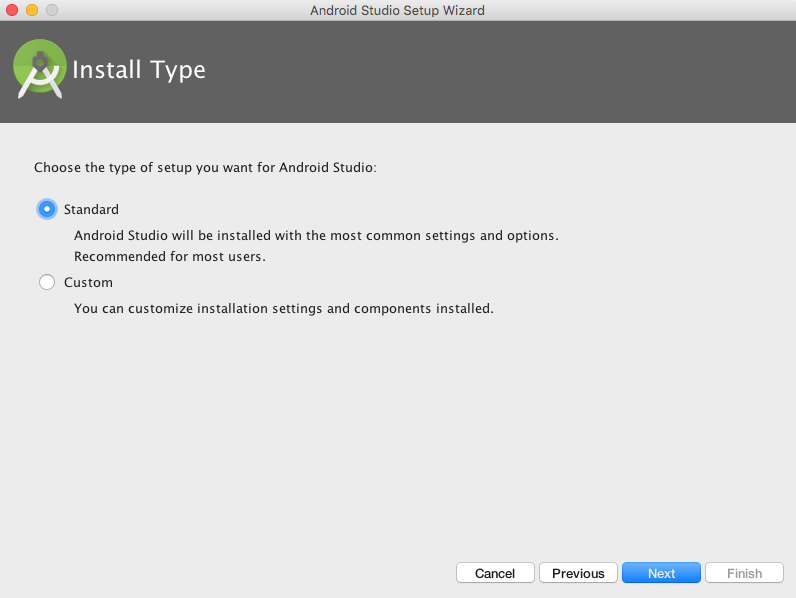
Select Standard for the setup type
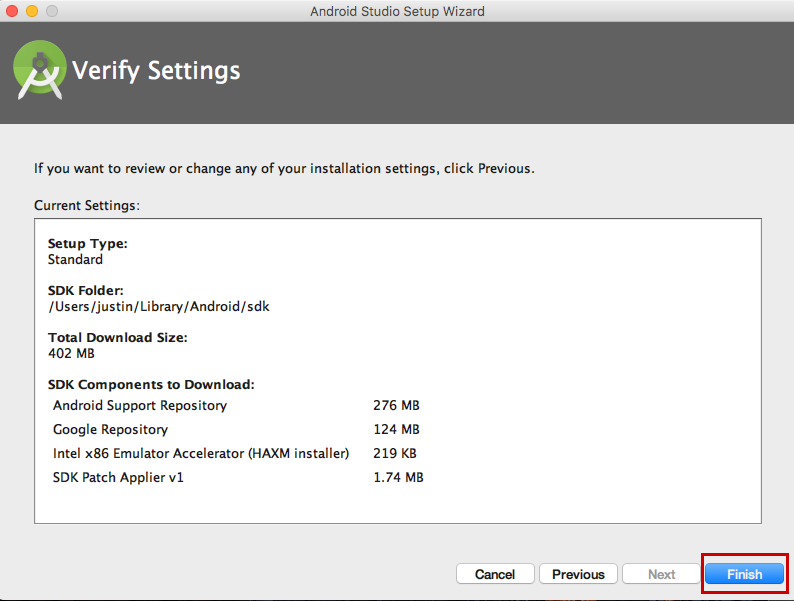
Most of the Android SDK items were installed as part of the Android SDK isntall but Android Studio has a couple of additional ones that it wants to install. Click the Finish button to install them.
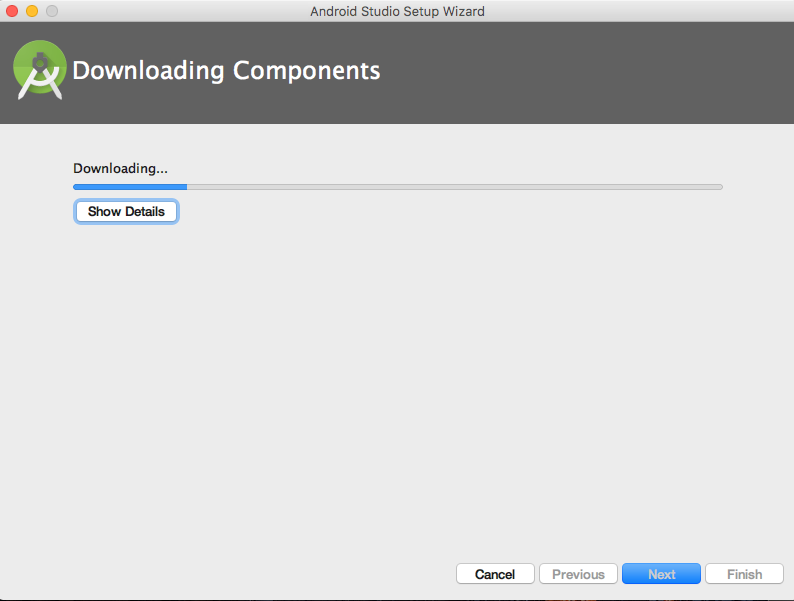
It will take a few minutes to download the components
When prompted for the HAXM installation, enter your user name and password then click Ok

When the install is completed, click the Finish button
Virtualbox
In order to run the Genymotion emulator, we need to install Virtualbox.
Navigate to https://www.virtualbox.org/wiki/Downloads and click on the install link for OSx and the extension package. Version 5.1.4 as of this writing.

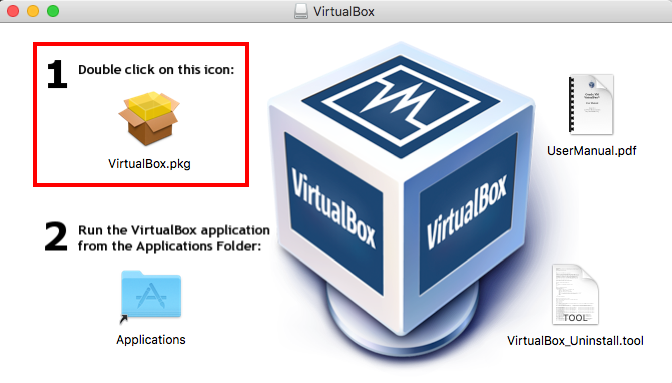
Click on the Virtualbox dmg file after it downloads
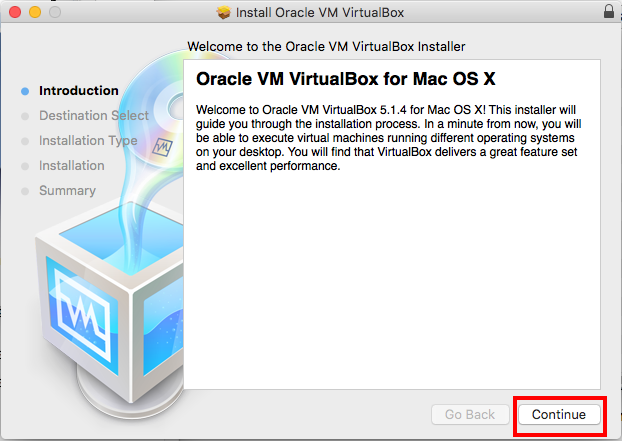
Double-click on the Virtualbox Icon
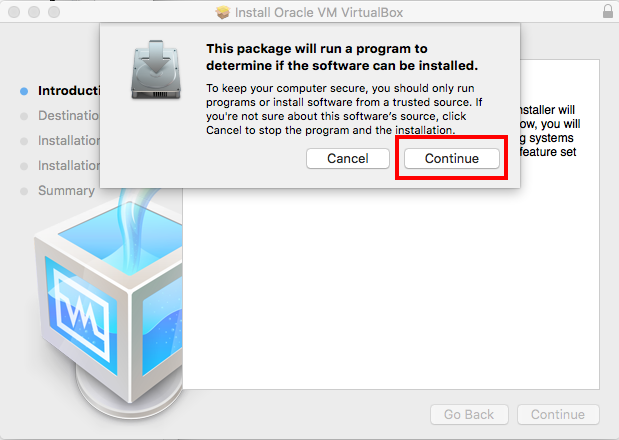
Click the Continue button to determine if it can install Virtualbox
Click Continue
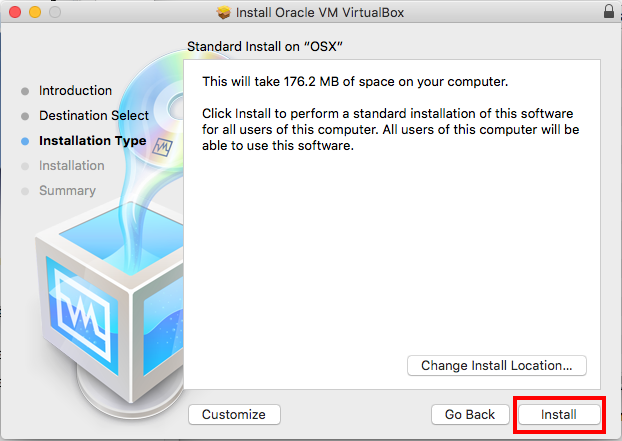
Click Install
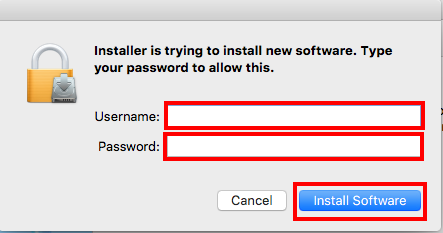
Fill in your login user name and password and click “Install Software”
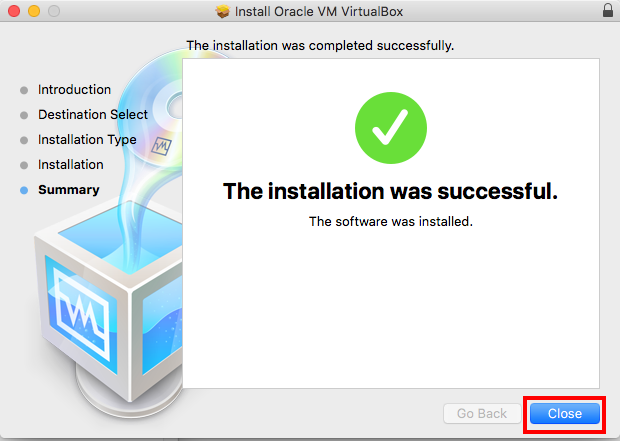
Click Close
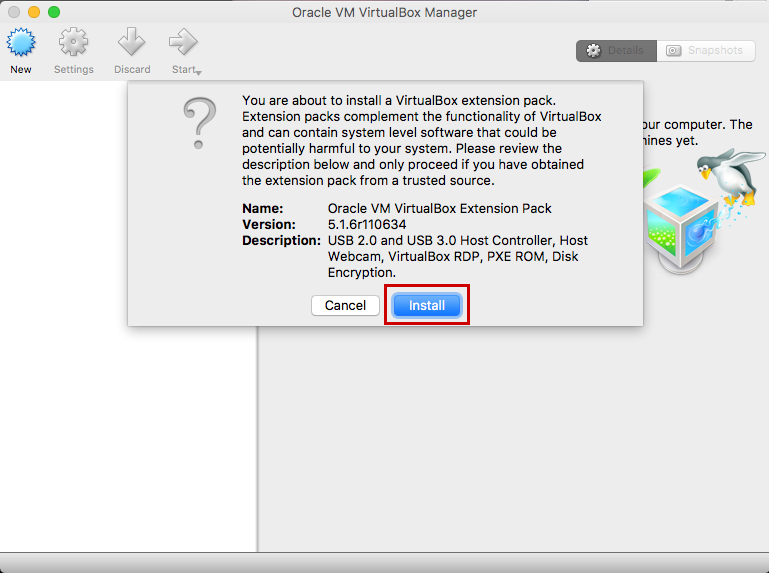
Now that Virtualbox is installed, we need to install the extension pack.
Double click on the extension pack file that you downloaded earlier.
Once Virtualbox is launched, it will ask you if you want to install the extension pack. Click Install
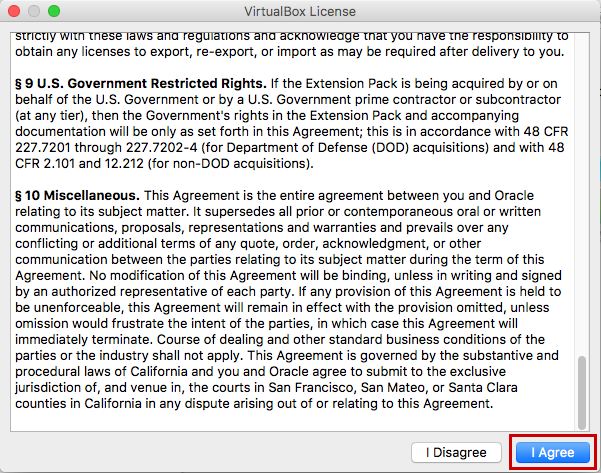
When the license agreement comes up, once you get to the bottom of it the “I Agree” button is enable for you to click it.
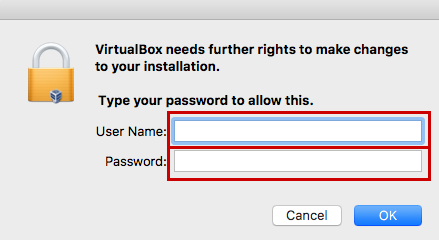
When prompted input your username and password then click Ok
Once the install is completed, click the Ok button
Genymotion
Download Genymotion from https://www.genymotion.com/fun-zone/
- Version 2.7.2 as of this writing.
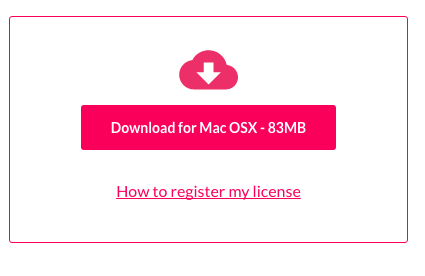
Click the “Download Genymotion Personal Edition” button

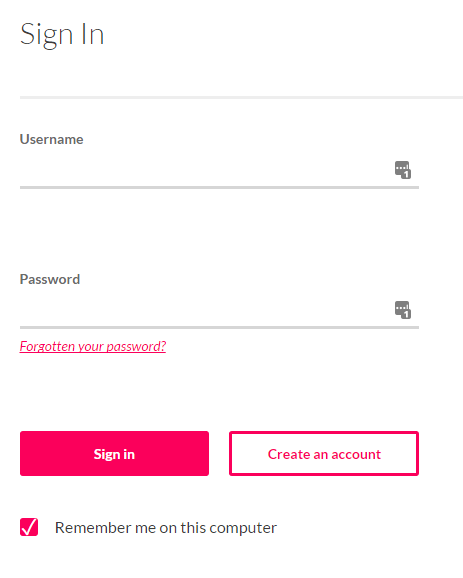
Sign in to your Genymotion Account if you have one. If not, then click on the Create Account button
After creating the account and logging in, click on the “Download the Mac OSX” button
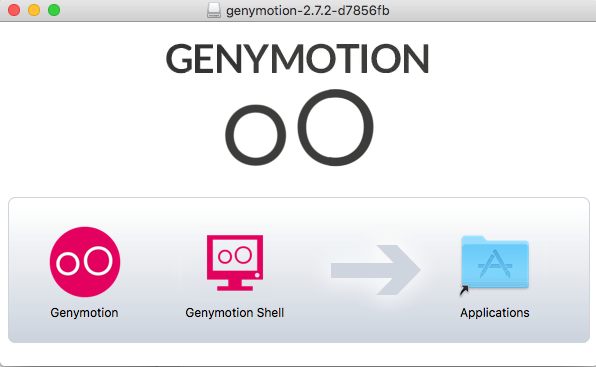
Once Genymotion is downloaded, double click the genymotion-2.8.0.dmg file to launch the installer
Drag Genymotion and Genymotion Shell to the Applications folder
After Genymotion is installed, open up the Applicaton folder and launch the Genymotion UI

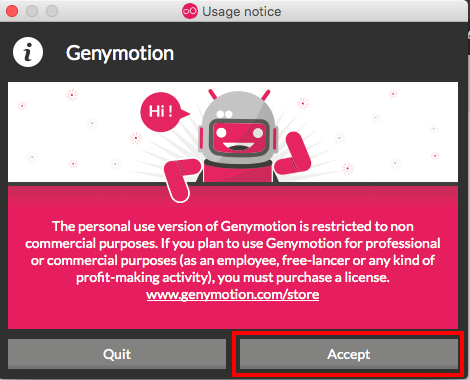
On the Usage notice dialog click Accept
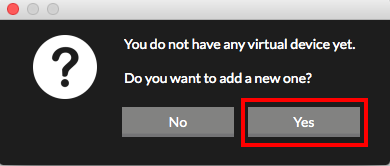
Click on the Yes button on the “You don’t have any devices dialog”
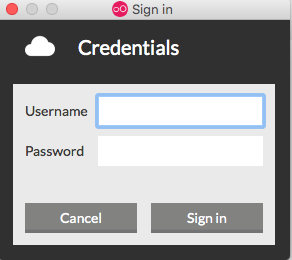
Click the Sign in button

Input your account information that you create as part of the Genymotion download.
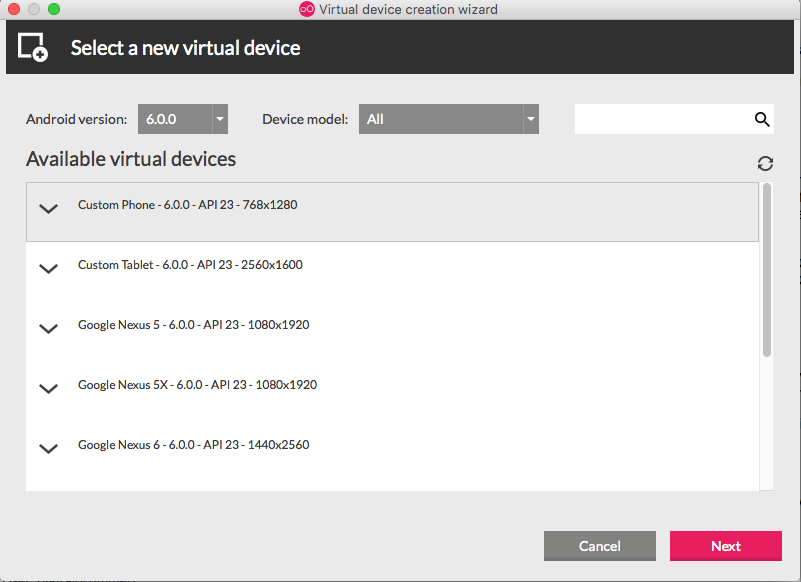
After you are logged in, from the Android Version drop down select 6.0.0
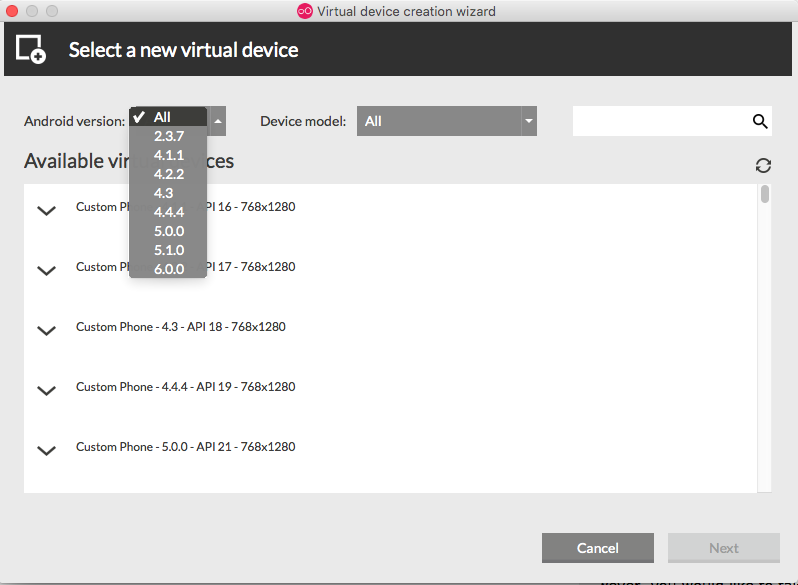
Then select a device from the available list and click next. In this case I selected the “Custom Phone - 6.0.0 - 768x1280”
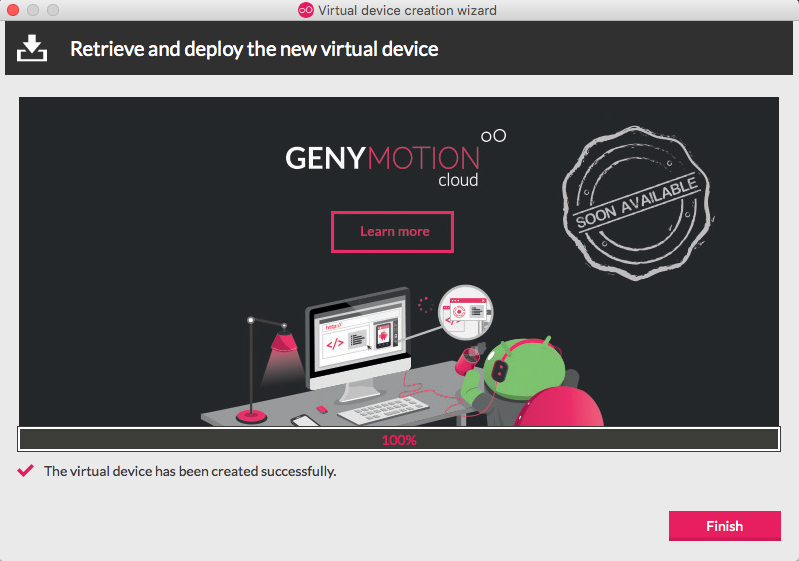
It will take several minutes to download the virtual device. When the download is done, click the Finish button
Gradle
If you are using Safari to download files and you didn’t change the preference to “open safe files after downloading” when you downloaded the Android SDK, you need to change it before downloading Gradle. Go into the Safari preferences and uncheck the “Open safe files after downloading” box. Without doing this, Safari will automatically unzip the downloaded file into the Download folder and delete the zip file.
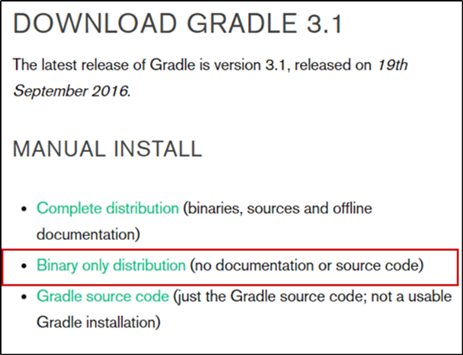
Download the Gradle Binary Only Distribution from https://gradle.org/gradle-download/
Open a terminal
Run the following to unzip the android sdk to the Development directory that is under your user home directory
unzip ~/Downloads/gradle-3.1-bin.zip -d ~/DevelopmentOpen up the vi editor and edit your bash profile. We need to add in the GRADLE_HOME environment variable
vi ~/.bash_profileTo edit in vi hit
ito enter edit mode and add the text below to the .bash_profileexport GRADLE_HOME=~/Development/gradle-3.1/binPress the
esckey to exit edit modePress
:(colon key) to enter command mode.type
wqand press enter to save and exit viRun the following to make the change active in your existing session
source ~/.bash_profileTest it by running
echo $GRADLE_HOME
Verify Android Setup
Next we are going to test our Android device setup. The first thing we need to do is tell ionic that we want to add the Android platform to our todo application that we created earlier.
Open a terminal and navigate to ~/projects/todo
Add the android platform
ionic platform add android
Now we need to validate that we can build for Android, run the following:
ionic build android
The last thing we need to verify is that we can deploy the todo app to the Genymotion Emulator. Before we can deploy the application, we need to start up Genymotion Device that we want to deploy to.
Once the Genymotion device is started, you can deploy to it by running:
ionic run android
You are now ready to go create your ionic applications for the Android platform. Continue with the guide to setup for developing for the iOS platform.
iOS Setup Steps
XCode
- Install Xcode from app store. This will take awhile since it is ~2 gigs in size.
- Once install is completed, open xcode and accept the license
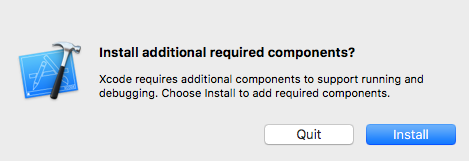
If prompted to install additional required components, click Install
When prompted for credentials, enter username and password then click Ok
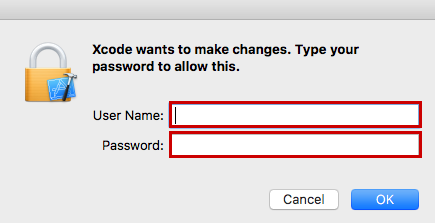
It will take a few minutes to complete the install

iOS Simulator
Install the iOS Simulator that Ionic will use.
npm install -g ios-sim
You may need to start the npm install command with sudo depending on your node setup.
iOS Deploy Package
Install the iOS Deploy npm package
npm install -g ios-deploy
You may need to start the npm install command with sudo depending on your node setup.
Verifying iOS Setup
Open terminal
Navigate the directory where you store you development projects (I use ~/projects)
Run the following command to generate an ionic v2 project based on the tabs template
ionic start todo tabs –v2
cd into todo (directory was created by the ionic start command)
The first test that we are going to run is to make sure that we can test the todo app that we generated in the web browser by running:
ionic serve --lab
This will start up a node based web server and the –lab will tell it to launch a page that shows what the app would look like on an iOS, Android and Windows phone. Granted the node based serve is about 80% accurate but good enough to do a majority of our testing. Ultimately you should test on a device before releasing into the app stores.
Next we are going to test our iOS device setup. The first thing we need to do is tell ionic that we want to add the iOS platform to our todo app by running:
ionic platform add ios
This sets up the todo app to be able to be build and deployed to an iOS device. To validate that we can build for iOS, run the following:
ionic build ios
The last thing we need to verify is that we can deploy the todo app to the iOS Simulator.
For the iOS Simulator, run the following:
ionic run ios
Congratulations
Congratulations, you made it through the guide and have everything setup to create your ionic applications for both Android and Ionic.