Welcome the continuing series on using Jekyll. In this tutorial we are going to add the ability to search your blog using google.
Overview
As your blog grows, you want to make it easy for your readers to find the content that they need on your blog. Out of the box, Jekyll does not have any type of search engine built-in. Thankfully, with Google you can easily tell Google to index your blog and then add a search box on the blog.
Section 1: Adding the Search Page
If you have been following along with the other lessons in the series, this should be familiar to you.
Open a web browser and navigate to your [username].github.io repository.
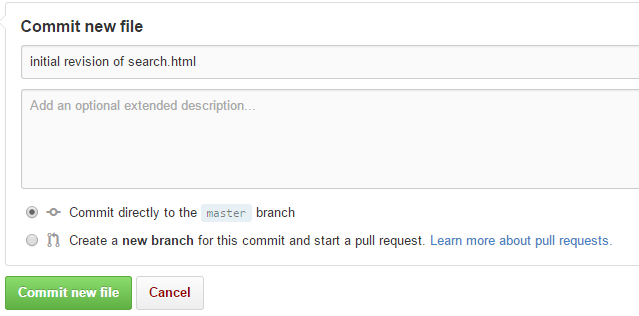
Click on the + button to add a new file

Name the file search.html

Add the following front matter
 ---
 layout: page
 title: Search
 permalink: /search/
 sitemap: false
 ---
Add the following html to the page
 <div id="home-search" class="home">
     <script>
         (function() {
             var cx = '[Your CSE Search ID]';
             var gcse = document.createElement('script');
             gcse.type = 'text/javascript';
             gcse.async = true;
             gcse.src = (document.location.protocol == 'https:' ? 'https:' : 'http:') +
             '//www.google.com/cse/cse.js?cx=' + cx;
             var s = document.getElementsByTagName('script')[0];
             s.parentNode.insertBefore(gcse, s);
         })();
     </script>
     <gcse:search queryParameterName="searchString"></gcse:search>
 </div>
Section 2: Adding Search Box
We need to get back to the main directory of our repository. To do this click on one of the [yourname].github.io links.
Then click on _layouts directory to go into it.
Click on the default.html file to open it.
Click on the
 icon to edit the file.
Before the <div id=“archives”> tag that we added previously, add the following html snippet.
 <div id="search">
     <form role="search" method="get" action="{{ site.baseurl }}//search/">
         <input id="searchString" name="searchString"
                 placeholder="Be a Better Developer, etc." type="text">
         <input id="searchButton" name="googleSearchName" type="submit" value="Search">
     </form>
 </div>
Replace the <div class=“container”> above the search div with the following
 <div class="grid" id="searchBar">
 <div>
After the <div id=“archives”> section add another </div> tag.
The whole section for the header should look like this
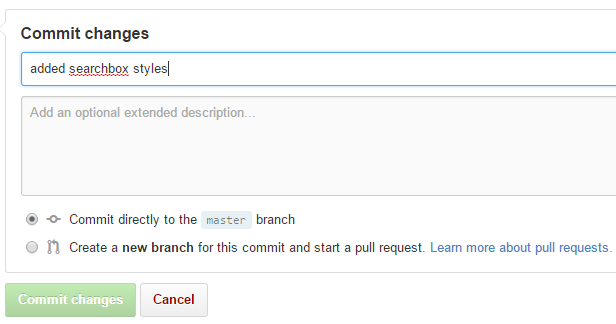
 <div class="grid" id="searchBar">
      <div>
          <div id="search">
              <form role="search" method="get" action="{{ site.baseurl }}//search/">
                  <input id="searchString" name="searchString"
                         placeholder="Learn Ionic, Be a Better Developer, etc." type="text">
                  <input id="searchButton" name="googleSearchName" type="button" value="Search">
              </form>
          </div>

          <div id="archives">
              browse by <a title="The complete archive of {{ site.name }}'s Blog by category"
                     href="{{ site.baseurl }}//categoryview">category</a>
              or <a title="The complete archive of {{ site.name }}'s Blog by month"
                    href="{{ site.baseurl }}//monthview">date</a>
          </div>
      </div>
  </div>
Scroll down to the bottom, add the commit comment, and click on the commit change button.
Next we need to update the theme so that the search box shows up in the correct spot on the page.
Section 3: Updating the Stylesheet
We need to get back to the main directory of our repository. To do this click on one of the [yourname].github.io links.
Click on the style.scss file to open it.
Click on the
icon to edit the file.Add the following to the bottom of the file before the two @import statements.
 #searchBar {
     font-size: 80%;
     padding: 0.43em 0 0.57em;

     #search {
     float: right;

     #searchString {
         width: 283px;
         border: none;
         box-shadow: 0 1px 2px rgba(0, 0, 0, 0.2) inset;
         padding: 0.3em 0.6em;
         background-color: #f6f5ea;
         margin-right: 0;
     }

     #searchButton {
         paddign: 0.3em 0.6em;
         background-color: #0B5485;
         border: 1px solid #f6f5ea;
         margin-left: 0;
         color: $white;
         -webkit-appearance: none;
         border-radius: 0;
     }

     #archives {
         line-height: 2;
         float: left;
         color: $black;
         text-wrap: avoid;
     }
     }
 }
Scroll down to the bottom, add the commit comment, and click on the commit change button.
Now go view your blog’s home page at http://[username].github.io/. You should now see the search box in the header along with the “browse by category or date” links.

Now that the search box and search pages are done, we need to setup Google to actually search our blog.
Section 4: Configuring Google
Navigate to https://www.google.com/cse/
If you do not have a Google account, you will need to create one.
If you already have a Google account, please login to it now.
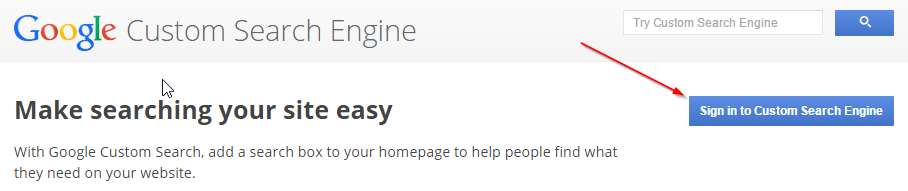
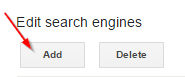
Once signed in, click the Add button
Fill in your web site url. Should be http://[username].github.io/*

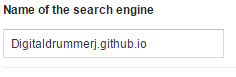
Give the search a name that you will remember.
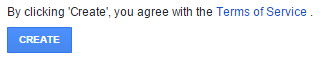
Click the create button
You search should now be created
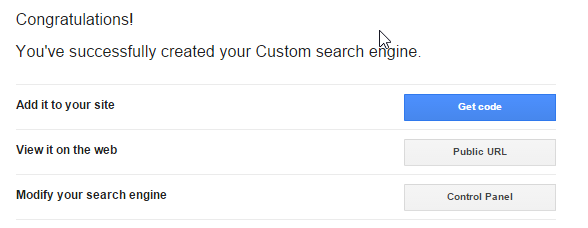
Click the Get Code button

Copy the var cx = line

Go back to github and edit the search.html page. Replace the var cx = line with the line that you just copied.
Commit the changes to Github for the search.html page.
Now we are ready to test the search
Section 5: Testing the Search
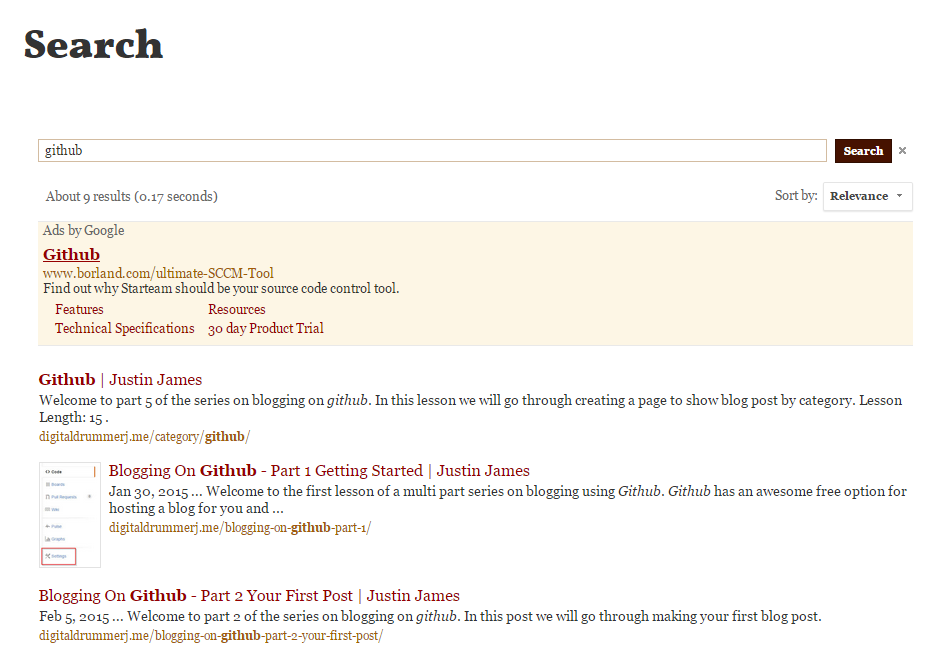
Open a web browser and navigate to http://[username].github.io
Type some text into the search box and click Search

It should take you to your search page and then do a Google search
Conclusion
You now have the ability for Google to index and search your blog. This will make it much easier for your reader to find older posts that they may be interested in and hopefully keep them on your blog longer.
In our next lesson, I will show you how to host your http://[username].github.io blog with a custom domain name like I am doing with http://digitaldrummerj.me