After each blog post is published, we need to let people know that a new post is published. We can’t expect people to only find out about the new post through the RSS feed. For this blog, I tweet out that I have a new blog post. However, I don’t want to have remember to send out the tweet because I will forget or get busy with something else. Instead, sending out a tweet should be done for me.
To automate the process we are going to use Zapier to monitor the RSS feed for new post and then add it to Buffer. I use Buffer as a way to schedule tweets to go out at specific times throughout the day.
I could have also used IFTTT but they do not have the ability to submit to the top of the Buffer list, so instead I would either have to have my post wait in the buffer list along with everything else I am retweeting or would have to immediately send it to Twitter. This wasn’t the desired functionality that I wanted.
If you haven’t heard of either of these systems before they both work pretty much the same way. They monitor something and then take action when it changes. They both have hundreds of task that you can automate against a variety of different systems like Trello, Github, Google Sheet, etc.
You will need an account in order to use these systems. Both of them are free but Zapier limits the number of automated task to 5 and the number of times it can run to 100 times per month. IFTTT does not appear to have any limits.
Both systems work extremely well it is just a matter of which system has the ability to interact with the system you trying to automate.
Setting up Zapier
Sign up for a free Zapier account at https://zapier.com/sign-up
Click on the
 button. Note: Zaps are their name for the automated task
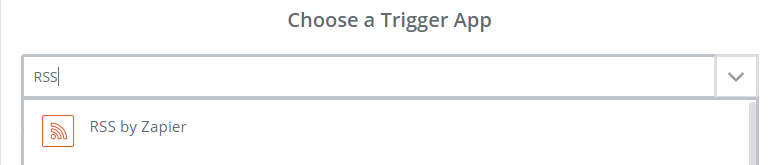
Search for RSS as the App Name and select RSS by Zapier from the results.
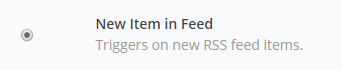
Select New Item In Feed
Click the
 button
Input your RSS feed url

Leave everything else with the defaults and click the
 button
Click the

If everything with the feed setup is correct you will get a successfully message

Click the
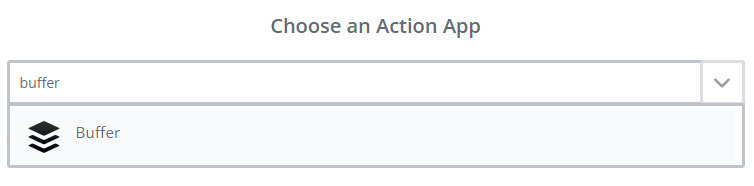
buttonSearch for buffer as the App Name and select Buffer from the results.
Select the Add to Buffer option

Click the
buttonSelect your Buffer Account or click the
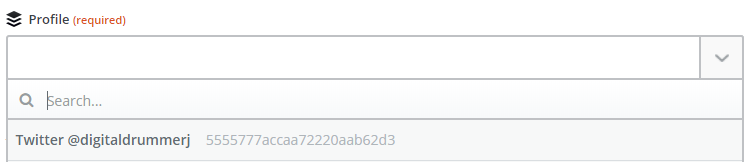
For the profile drop down select your Twitter profile
For the text field, input what you want your new post tweet to say. The important piece to add into the text field is the link to the new blog post.
To add the link, click on the
 and select the link option
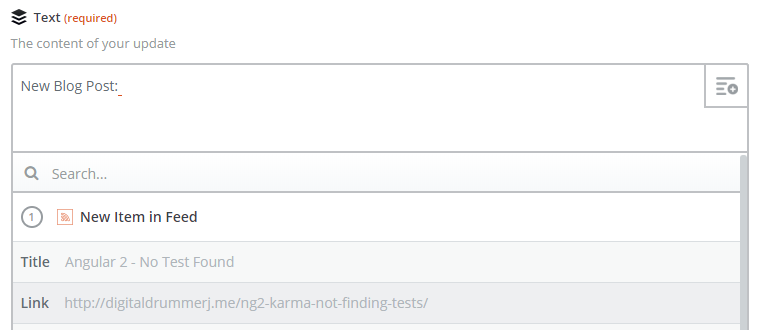
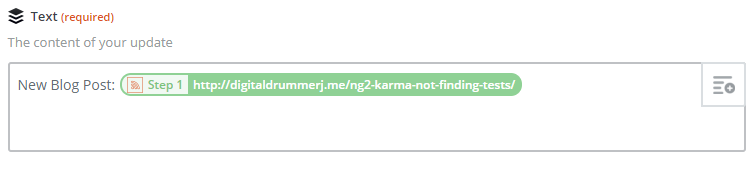
For my text field, it looks like
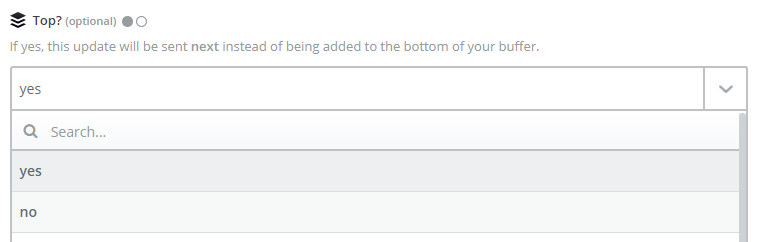
For top? field select yes to put your new blog post tweet at the top of your Buffer queue.
Click the
buttonClick the
 button
If everything is working, you should see a test successful message

Also, go to buffer and verify that a new post has been added to the buffer queue. You will also want to delete the new post from your buffer queue

Click the
 button
Zapier is now setup to put a tweet at the top of your Buffer queue whenever you publish a new blog post into your RSS feed.