In our previous post on Creating a Blog Using Hugo, we installed Hugo, created a new site, added a theme, and created our first post.
In this post, we will be deploying the site that we created using a free account at Netlify. The site will be re-built and re-deployed whenever we push a new commit to our site’s Git repository. We will also look at how to set up our site using our own domain and create an SSL certificate.
A question that comes up a lot when I talk about deploying static sites like Hugo with Netlify is why not just use GitHub Pages?
This is a great question. While GitHub Pages allows us to deploy our site with a custom domain and SSL, it does not let us deploy a staging or preview version of the site to test out changes before making them live. Netlify gives us the ability to create a preview site for each pull request which I use to see what my future and draft post will look like on a machine other than my laptop. Netlify also allows us to deploy a branch to a subdomain, allows multiple domains pointing to a single site, unlimited websites, and rollback to a previous build. All of this can be done with the free tier of Netlify.
Create Netlify Account
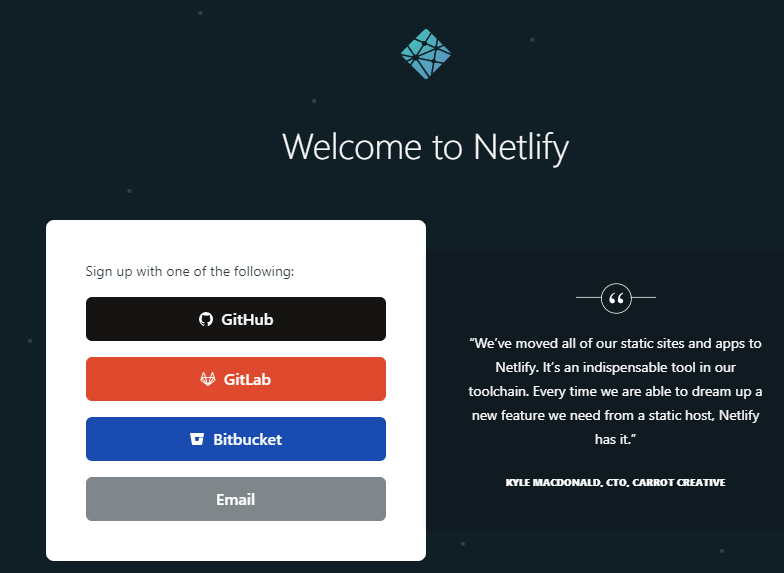
The first thing we need to do is create a Netlify account if you do not have one already.
Head over to Netlify sign up page.
Import project
Now that our Netlify account is created, we are ready to add our site to Netlify.
Once logged into your Netlify account, click on the “Add New Site” and select “Import Project”
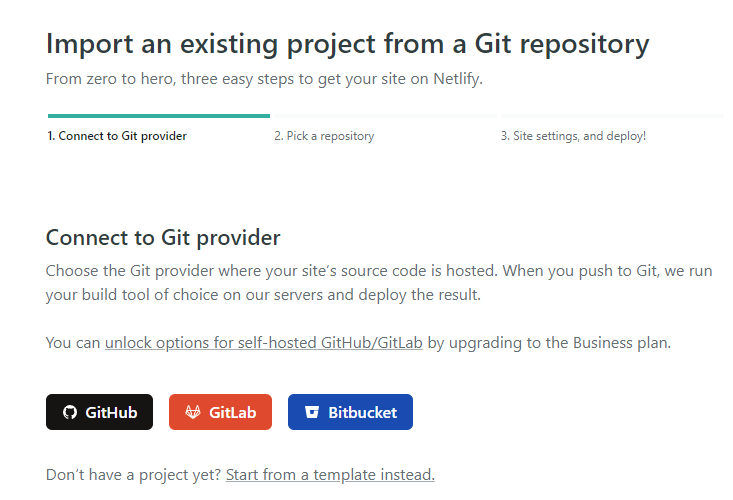
Click on your Git provider
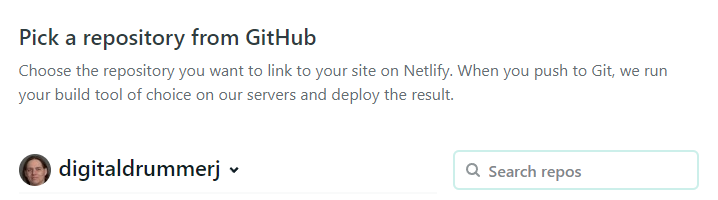
Pick your site’s repository
For the build command, use the following to build, clean up resources and minify output

hugo --gc --minify–gc cleans up the generated resource to remove anything old
–minify will minify things it can like HTML
Our site is now set up in Netlify and Netlify ran our first deployment for us.
Url for Site
Netlify will auto-assign a URL to our site for us. We can change the URL to something we can remember or hook up our own domain to the site. We will first look at renaming the Netlify domain and later in this post, we will look at hooking up a custom domain.
After you finish importing the repository, Netlify will take you to the site details, where you can see the URL that Netlify assigned (it is the netlify.app domain) to the site.
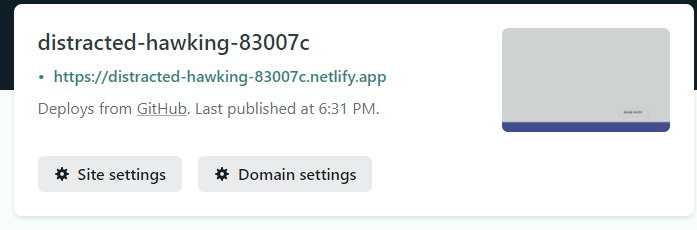
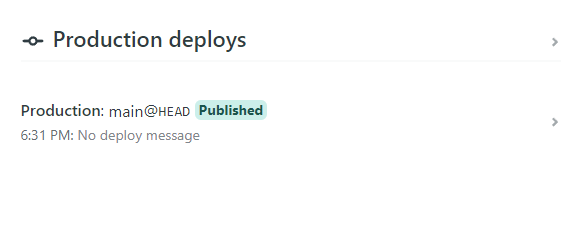
You can also see the Production deploys that have been done for the site. At this point, it will just be the initial deployment.
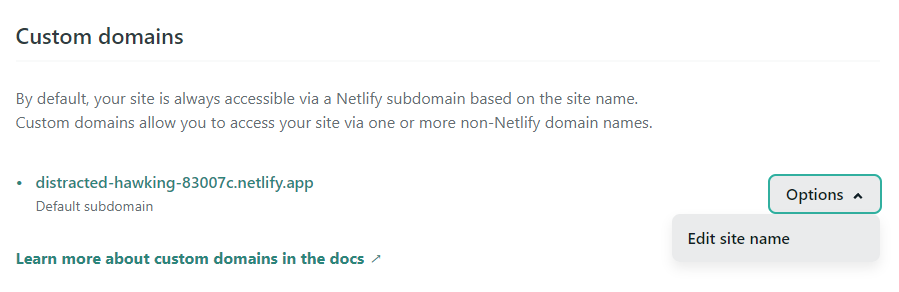
If you want to change the URL that Netlify assigned (will still be netlify.app but can change the subdomain in front of it), you can do so by:
- Clicking on the domain settings
- Clicking the options next to the domain name
- Clicking the Edit Name
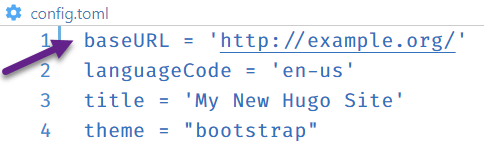
The last thing we need to do is fix the asset references on our site. Right now, our config.toml file says baseurl is example.org. We need to update this to our Netlify URL.
- Open the config.toml file that is in the root of our site
- Find the baseurl parameter and update it to your Netlify URL
- Commit and push the change to your Git repository
Once you push the change to your repository, Netlify will automatically build and deploy your site.

Add Custom Domain (optional)
You can also set up your own domain in Netlify. Netlify will either set up a brand new domain for you or allow you to point to an existing domain.
For the steps to set up the DNS for your site, please see the Netlify Custom Domain Setup Docs
Once you have pointed your DNS at Netlify, you are ready to add your custom domain to Netlify.
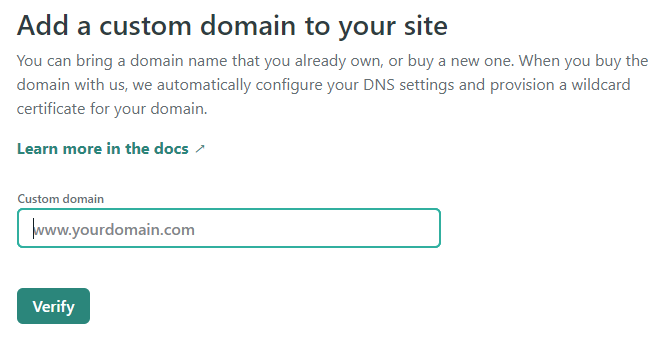
Under the domain settings, click “Add custom domain”
Enter your domain in and click verify
If your domain is already registered with an external DNS provider like mentioned above, you will see the “domain already registered” warning.
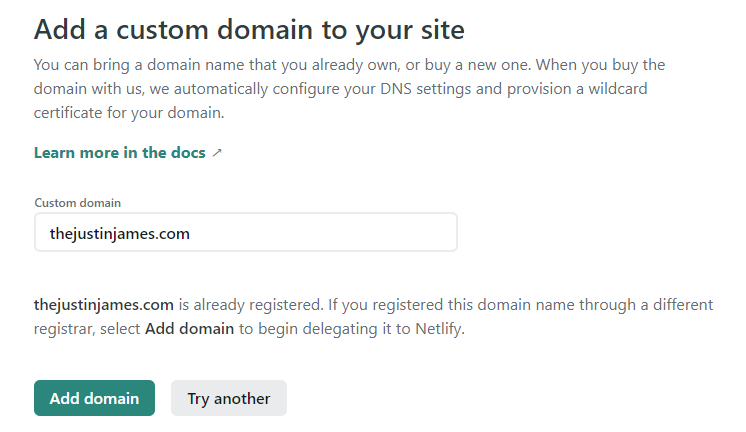
Click “Add domain”
The last thing is to set up your SSL certificate. Netlify users Let’s Encrypt and will create your SSL certificate.
You will see the HTTPS section at the bottom of the domain settings.
Expand the HTTPS section
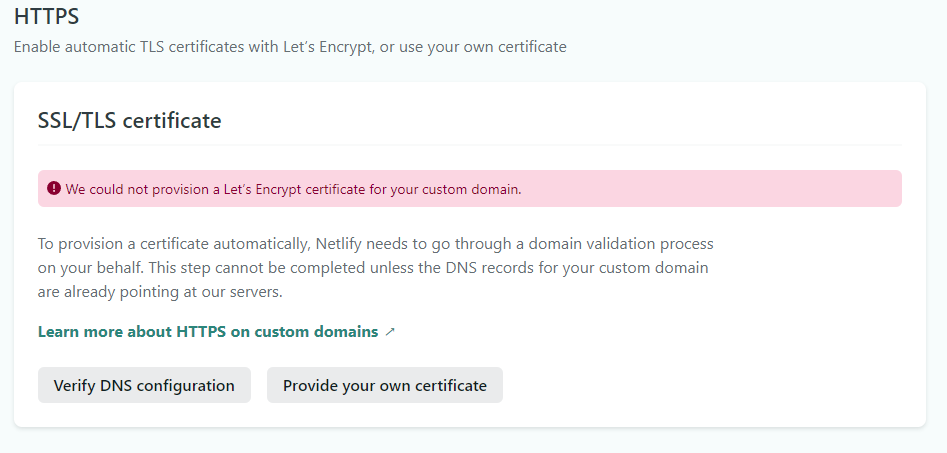
Click on the “Verify DNS Configuration”
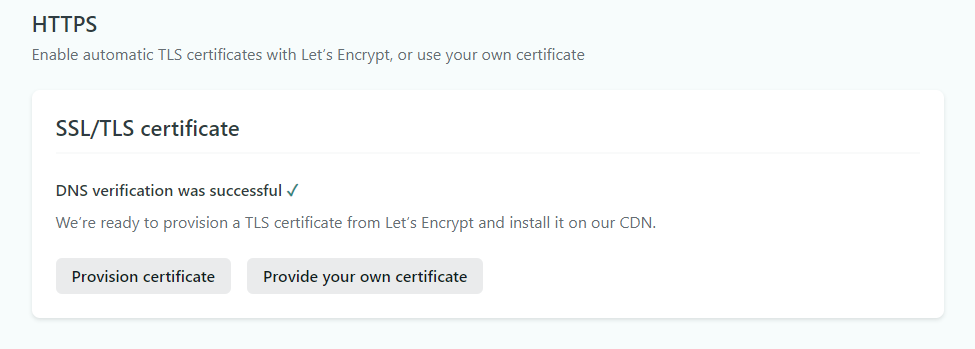
Go back to your config.toml file and update the baseURL to your custom domain and push the change to git.
Your site is now deployed with a custom domain that will be re-built and re-deployed with each push to your Git repository.
In our next post on Hugo, we will set up a preview site that will be deployed every time a pull request is created or updated. This will allow you to test out changes before they go live in production.