Welcome to the series on getting started with ASP.NET Web Api. In this article we will create a basic C# Web Api with Windows Integrated Authentication and create our first Web Api endpoint.
ASP.NET Web API is a framework that makes it easy to build HTTP services that reach a broad range of clients, including browsers and mobile devices. ASP.NET Web API is a great platform for building RESTful applications using the .NET Framework.
In this series we will learn how to:
- Create a basic C# Web Api with Windows Integrated Authentication
- Setup camel-cased json properties for the response
- Setup A Standard Response
- Solving CORS Issues When Using Credentials
Create a new Web Api Project
To make a C# application with Visual Studio:
Open Visual Studio 2015. Any edition will work. I am using Community Edition.
Click File -> New -> Project…

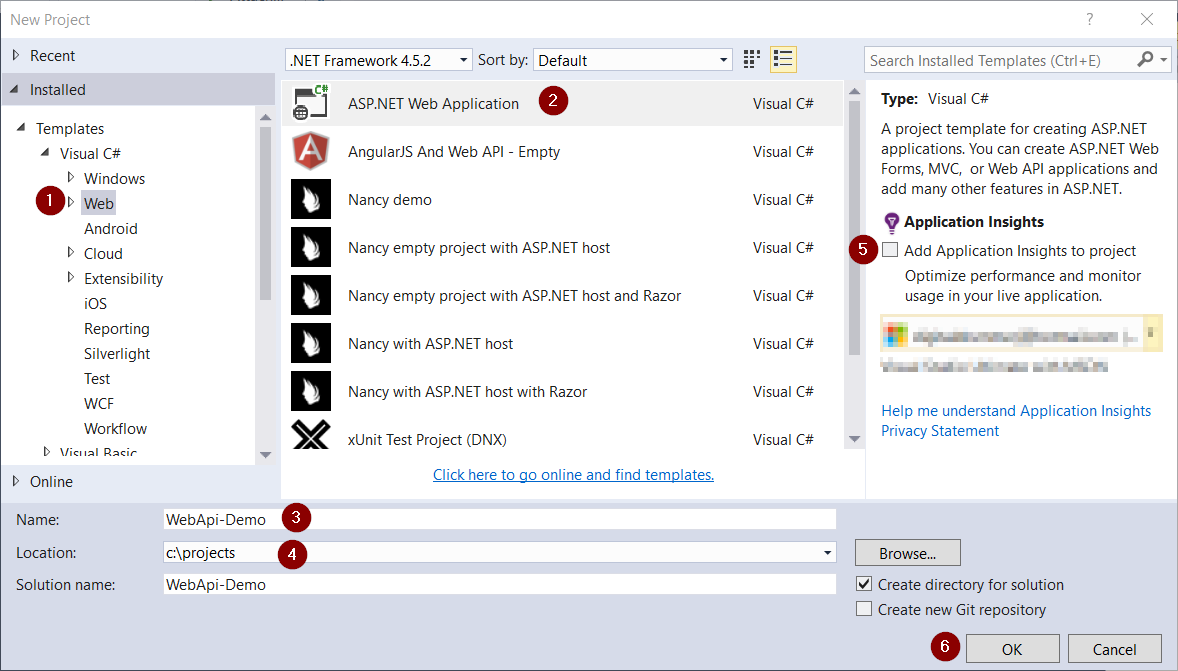
Find and select ASP.NET Web Application, give your application a name and select ok
- On the left side under Installed -> Templates, select Web
- Select “ASP.NET Web Application”
- Note: Your list of templates may differ but as long as your have the ASP.NET Web Application template listed we are good to go.
- Give the project a name (Web Api-Demo in this case)
- Select a location to store the project (c:\projects in this case)
- Uncheck the “Application Insights” box since we are not going to be using Application Insights
- Click the Ok button
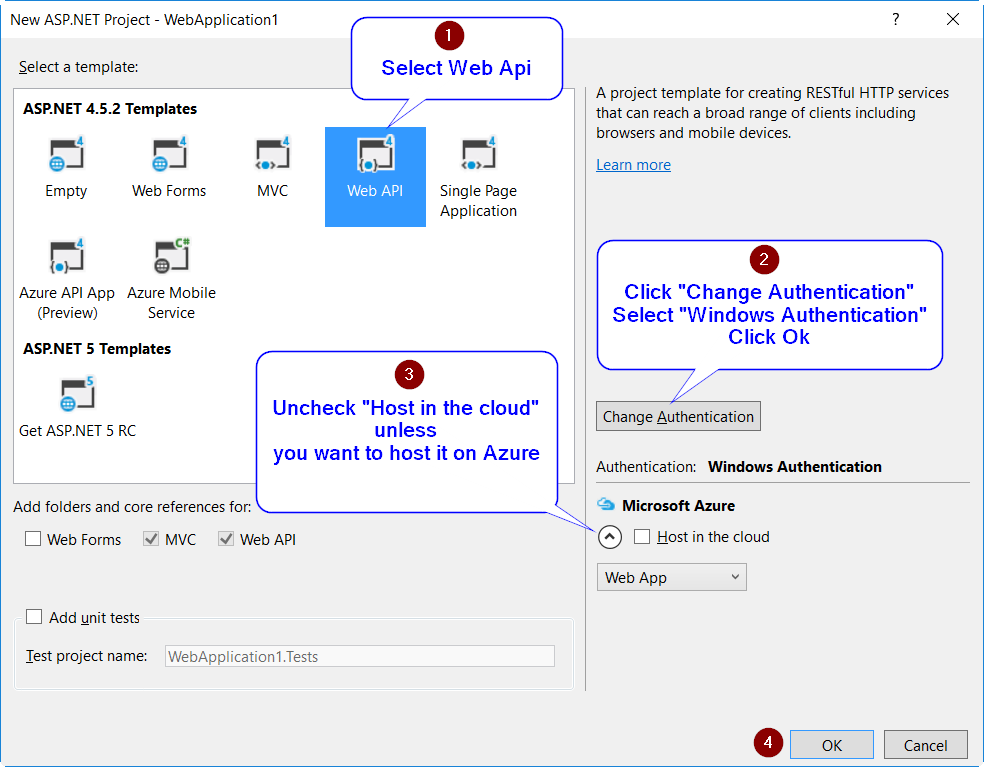
On the next screen, we need to select the New ASP.NET Project Options
- Select Web Api for the template
- Click on the “Change Authentication” button
- Select “Windows Authentication”
- Click Ok
- Uncheck “Host in the cloud”
- Click Ok to generate the project
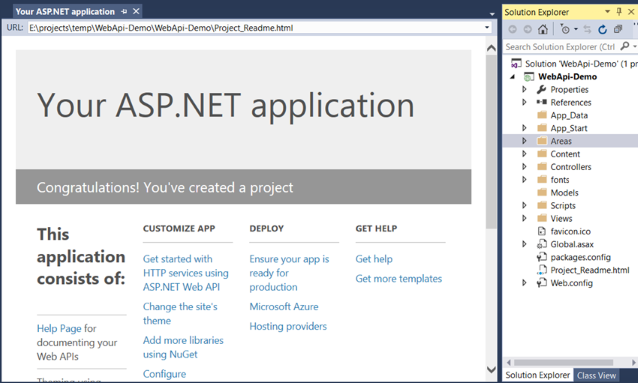
You project has now been generated and you should see a screen similar to the follow in Visual Studio
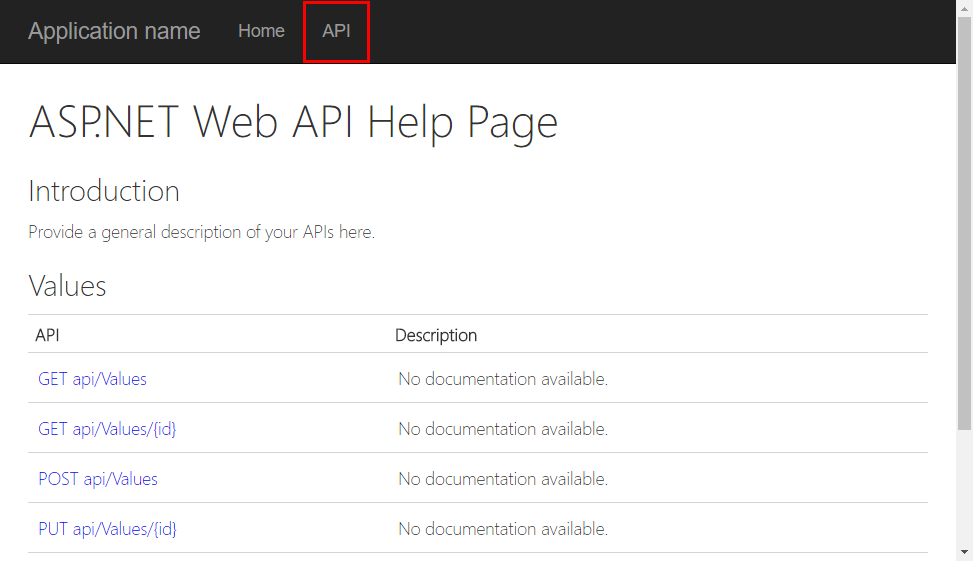
If you hit F5 your default browser will launch with the Web Api Start Page.
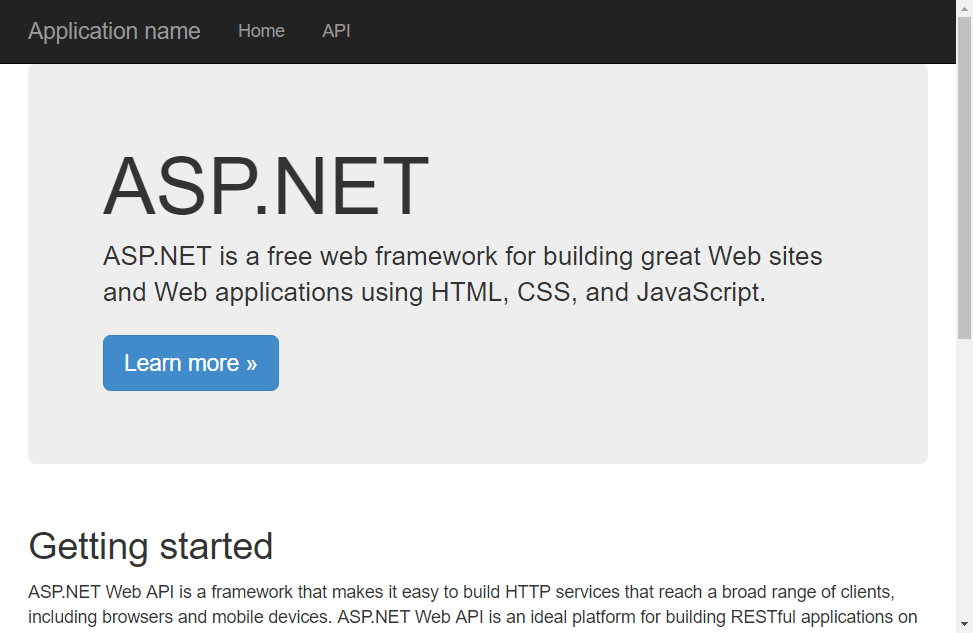
The Web Api project comes with a couple of Web Api Endpoints and a very useful Api documentation page that shows all of the available Api endpoints. Click on the API link in the top nav bar to view the documentation page.
Creating Our First Controller
Now that we have a working Web Api project, lets add some functionality to it. The first thing we are going to do is to create a controller that will return back the logged in Windows user using Windows Integrated Authentication.
Note: You should only uses Windows Integrated Authentication within a business and not for a public Api. {:.warning}
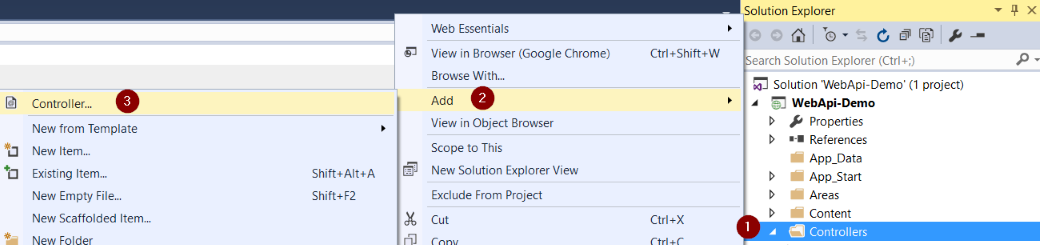
- In the Solution Explorer, right-click on the Controllers
- Select Add from the menu the comes up
- Select “Controller…” from the list of templates
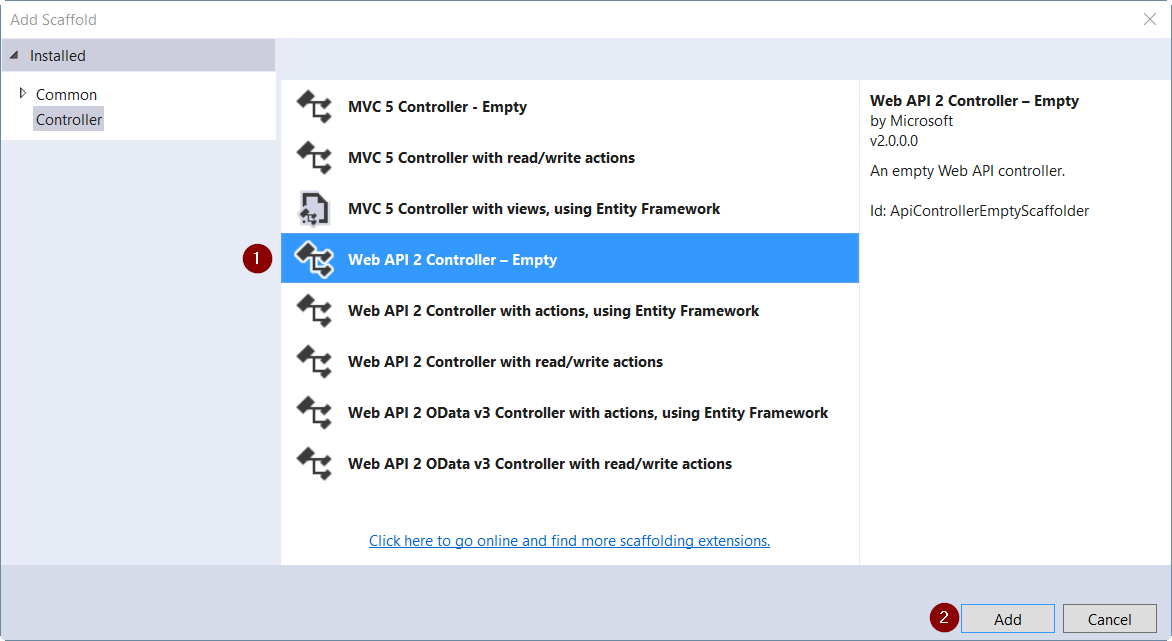
This will open up the Controller type options.
Select “Web API 2 Controller - Empty”
Click the Add button
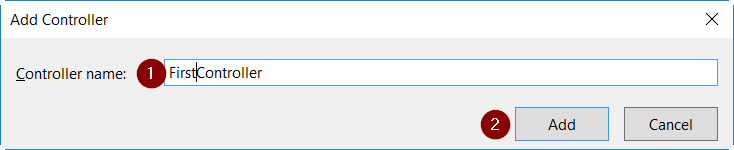
Next you will need to input the file name.
Change the file name to FirstController
Click the Add button
We now have a blank Web Api Controller that is ready for us to create methods within.
using System;
using System.Collections.Generic;
using System.Linq;
using System.Net;
using System.Net.Http;
using System.Web.Http;

namespace Web Api_Demo.Controllers
{
    public class FirstController : ApiController
    {
    }
}
We are now going to add a GET method that will return back the logged in user.
public string Get()
{
    return RequestContext.Principal.Identity.Name;
}
Before we test our new controller, we need to make sure that Windows Authentication is enabled and Anonymous Authentication is disabled.
- Open Solution Explorer, select the Solution and press F4 to open the Properties window
- Set “Anonymous Authentication” to disabled
- Set “Windows Integrated” to enabled

Now we are ready to test our Api. In Visual Studio, press F5 to start up a debugging session. This will launch your default web browser. Once the initial page for Web Api has loaded navigate to the /api/first page (e.g. http://localhost:58842/api/First). Your port number will be different than mine.
The response you get back will be an xml document that contains a string with your domain and user name that you are logged in with. In this case it is [Your Domain]/[Your User Name]. It will look similar to below.
<string xmlns="http://schemas.microsoft.com/2003/10/Serialization/">[Your Domain]/[Your User Name]</string>
Conclusion
In this guide we learned how to create a basic C# Web Api project that uses Windows Integrated Authentication. In the next guide, we will learn how to convert the JSON responses to be camel cased instead of following the .NET pascal case convention without having to update all of our .NET class.